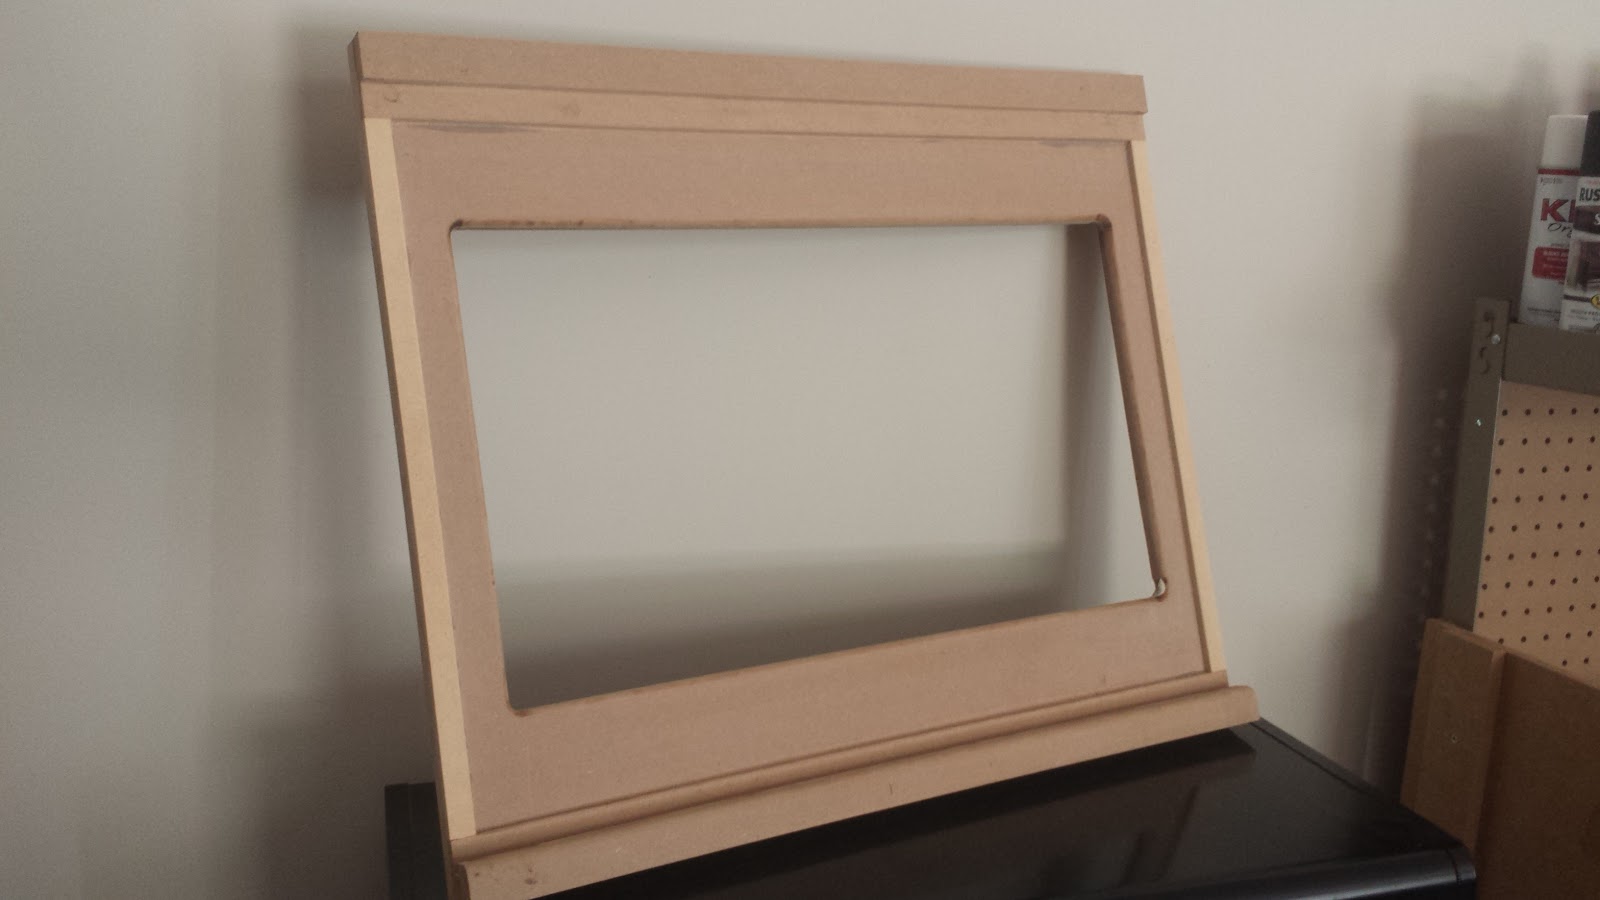
The screen area is made primarily of 1/2″ MDF, with several trim pieces to keep a glass panel in place.
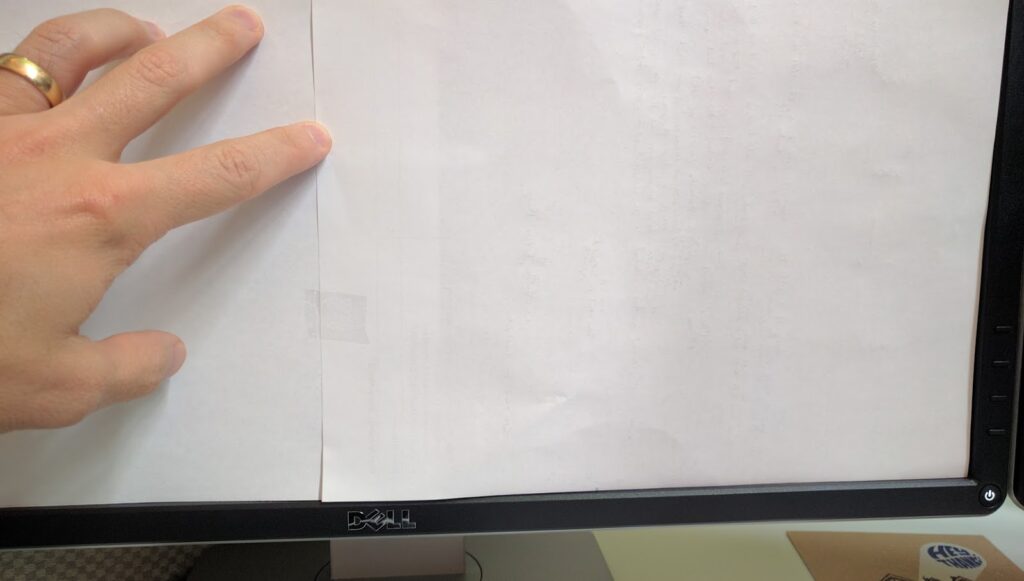
I started by taping several pieces of paper to cover the entire screen-area on my monitor. This gave me a template to cut the hole for the monitor in the MDF (below isn’t my actual monitor, but it shows the general idea of what I did). After cutting the hole, I used my router to put a nice, rounded bevel on the cutout.
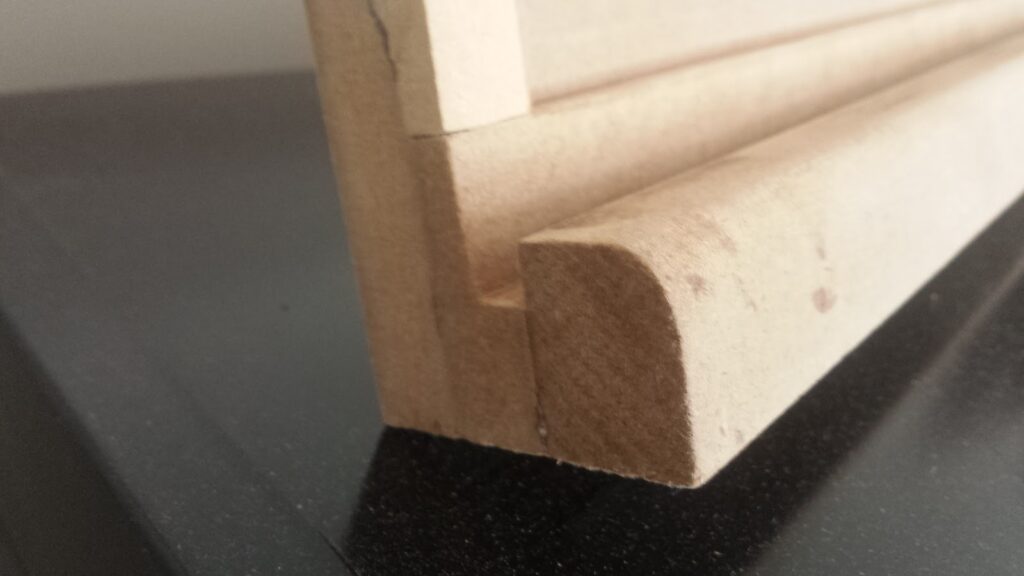
For the top edge, I attached a strip of 1/2″ MDF. I previously routed 1/4″ off the area where the glass would rest.
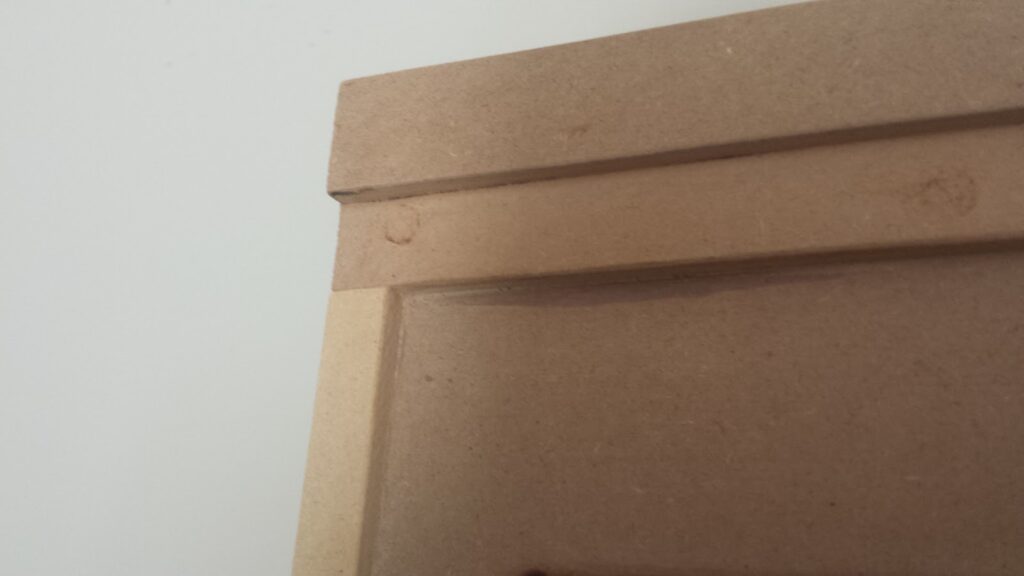
For the bottom, I have a similar 1/2″ MDF strip routed to 1/4″ for the glass to rest in. I also added an additional trim piece which matches the bottom trim piece on the admin panel. This trim piece also serves to create a slot for the monitor glass to rest in. On both sides, I glued a 1/4″ thick strip of MDF, so the glass can rest securely on all 4 edges.
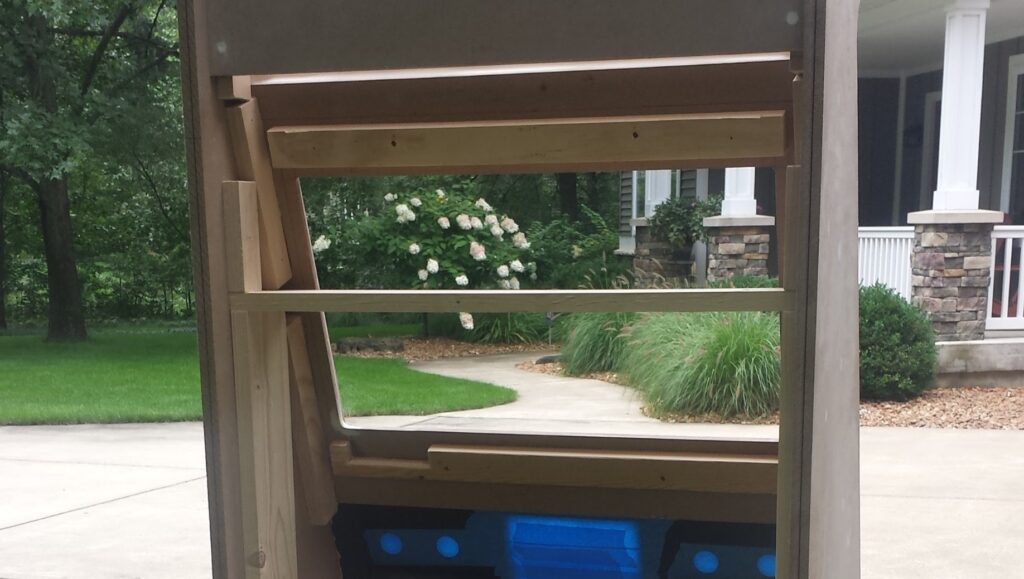
On the back, I attached two pieces of scrap wood that help to position the monitor. I drilled holes in these strips, and inserted some EZ-Loks which will hold plastic hangar straps to keep the monitor in place.
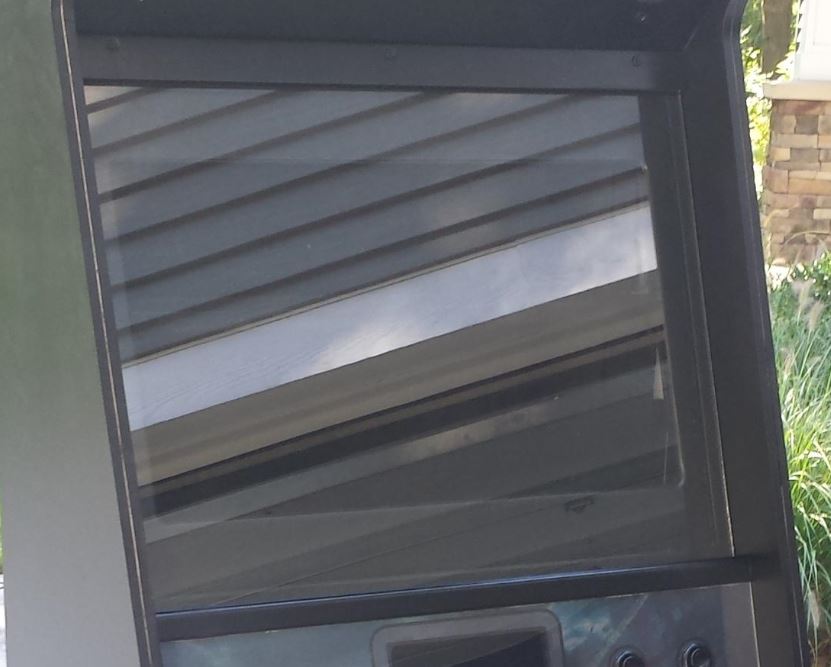
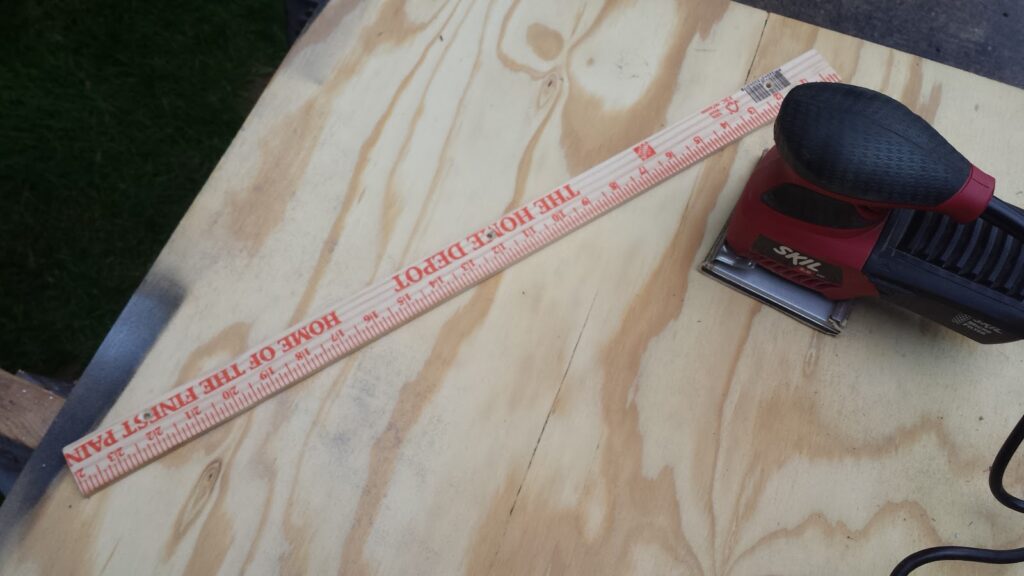
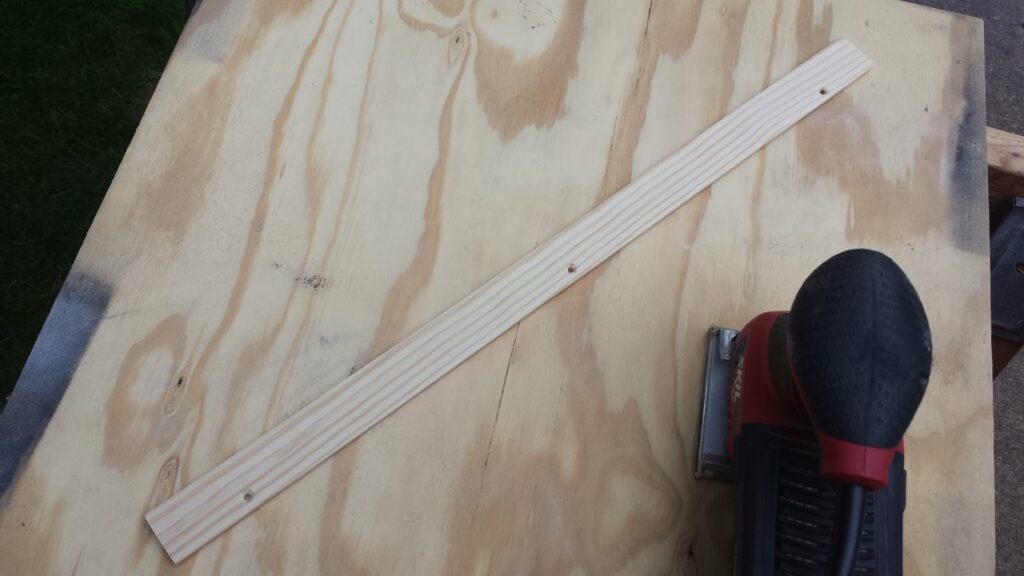
To keep the monitor glass secured, I used a cheap wooden ruler. I sanded all of the markings and indentations off with my power sander. Then I drilled & countersunk 3 holes to secure it to the cabinet. To compensate for the angle of the speaker panel above the screen, I filed the back-top edge off from the strip so it could rest snugly against the speaker panel above it. When everything fit the way I wanted, I painted it black to match the rest of the cabinet.
On the screen cutout, I drilled holes matching those of the wooden retainer strip I just created. EZ-Loks and machine screws hold it in place.