Here, I detail how I used a paper template to create the two identical side panels for my arcade cabinet.
Weekend #1:
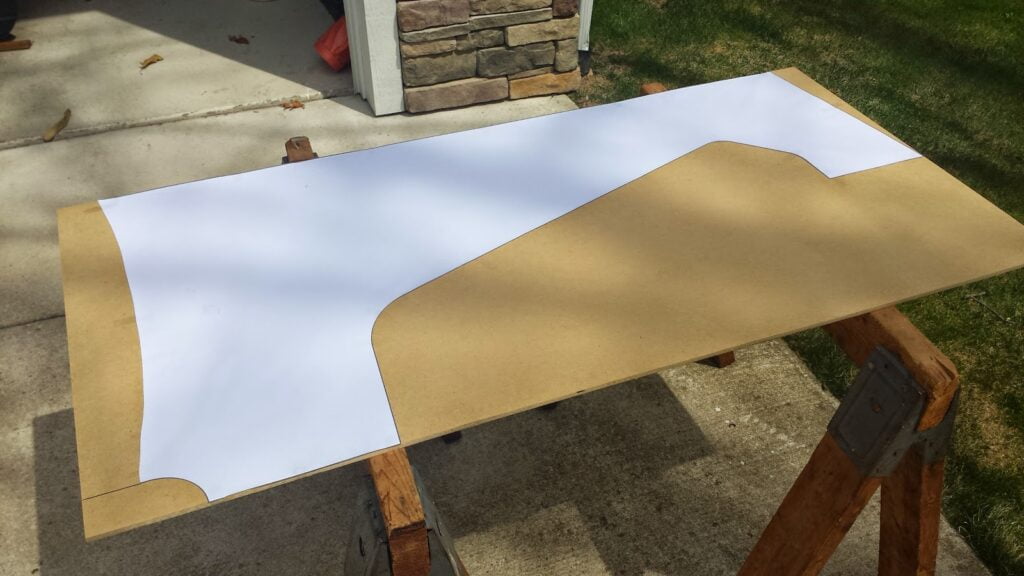
Using my original SketchUp drawing, I saved a 2D PNG version looking directly at the side panel.

I scaled this up in GIMP to the actual dimensions at 72dpi, saved as PDF, and printed it at full scale on the plotter at work.
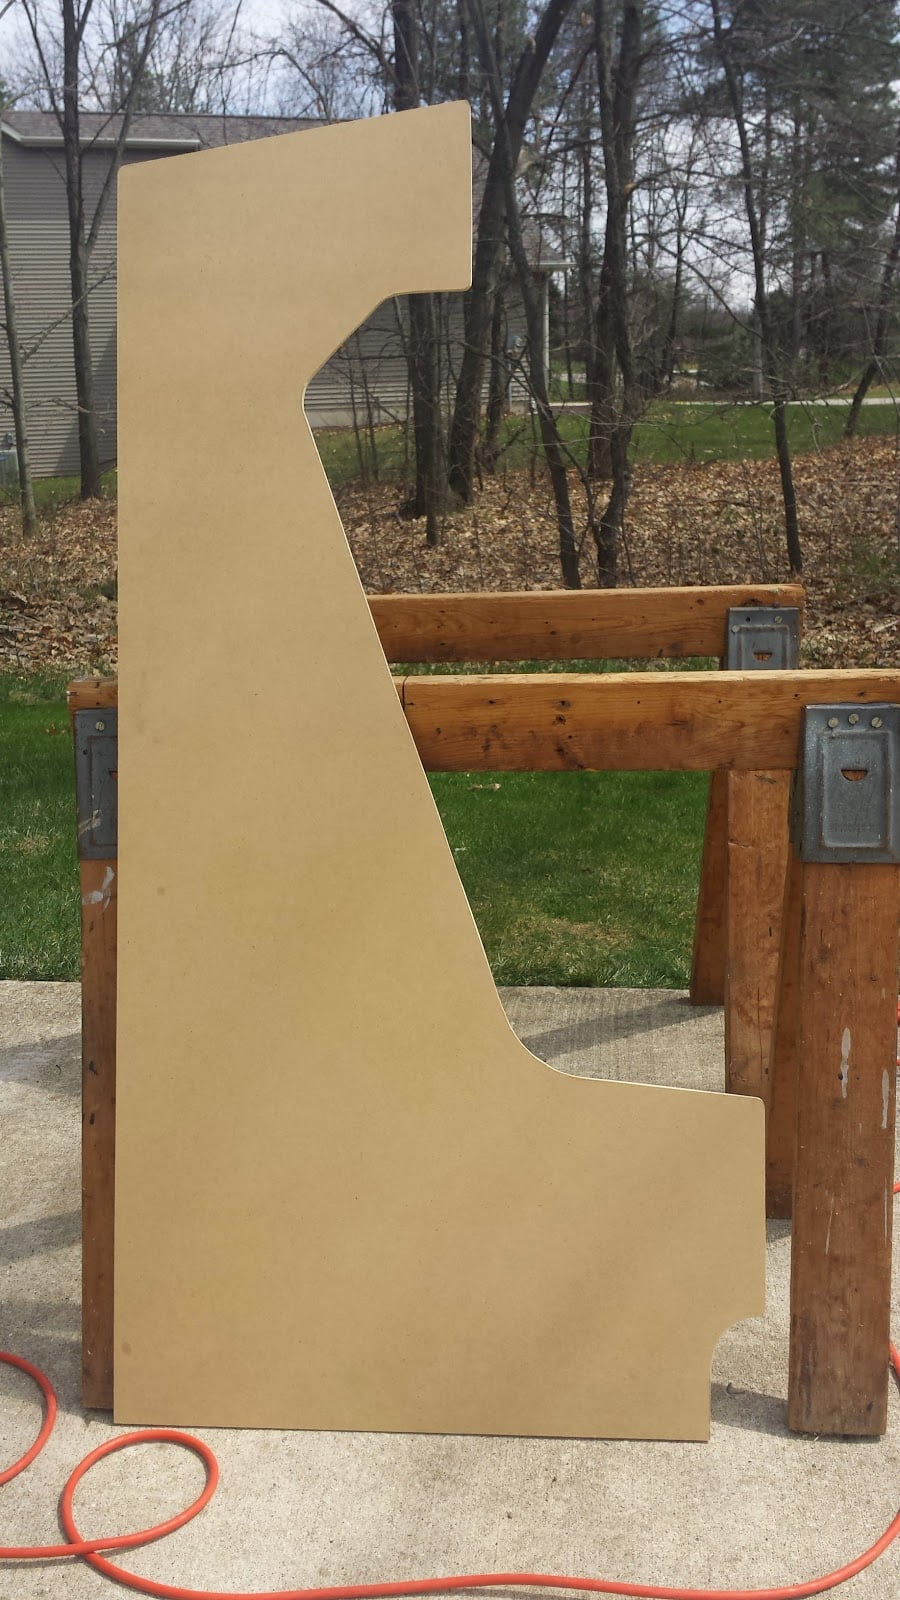
I then cut out the pattern and taped it to a piece of 1/4″ 2x4ft MDF.
Using a jigsaw, I cut around the template, making sure not to cut over any of the lines. I occasionally had to stop and re-tape the pattern as I cut across the tape originally holding it in place.
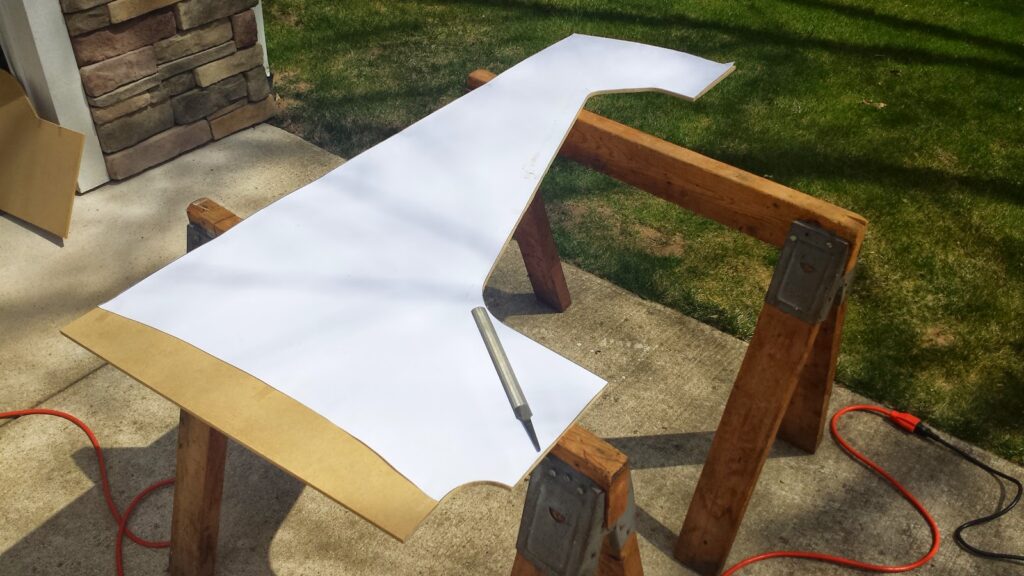
Once the template was roughly cut out with the jigsaw, I got out a straight file and filed the edges straight & flush with the lines on my paper pattern.
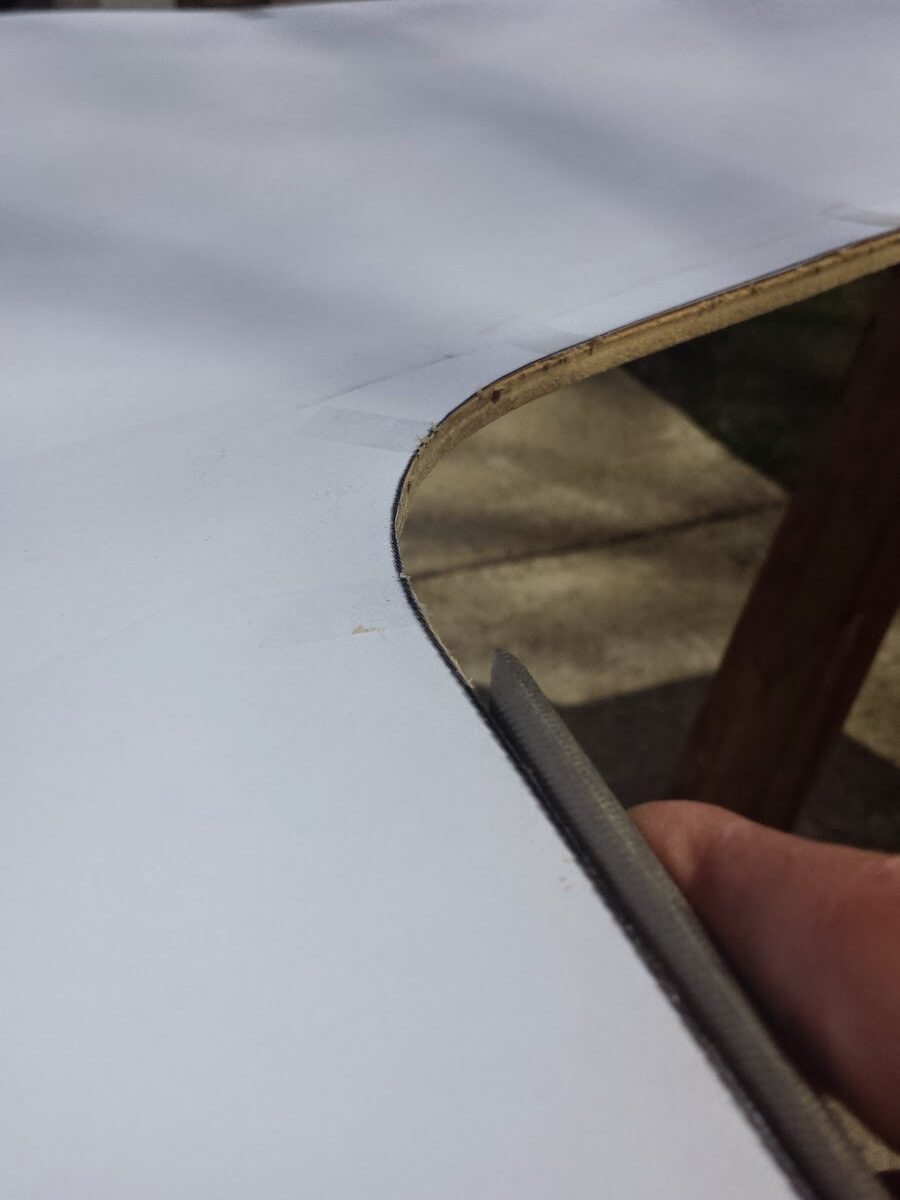
After lots of filing, I removed the paper, and used a pen to trace around a metal washer at all of the sharp corners in the pattern. Then I filed the corners round using the lines as a guide.
Weekend #2:
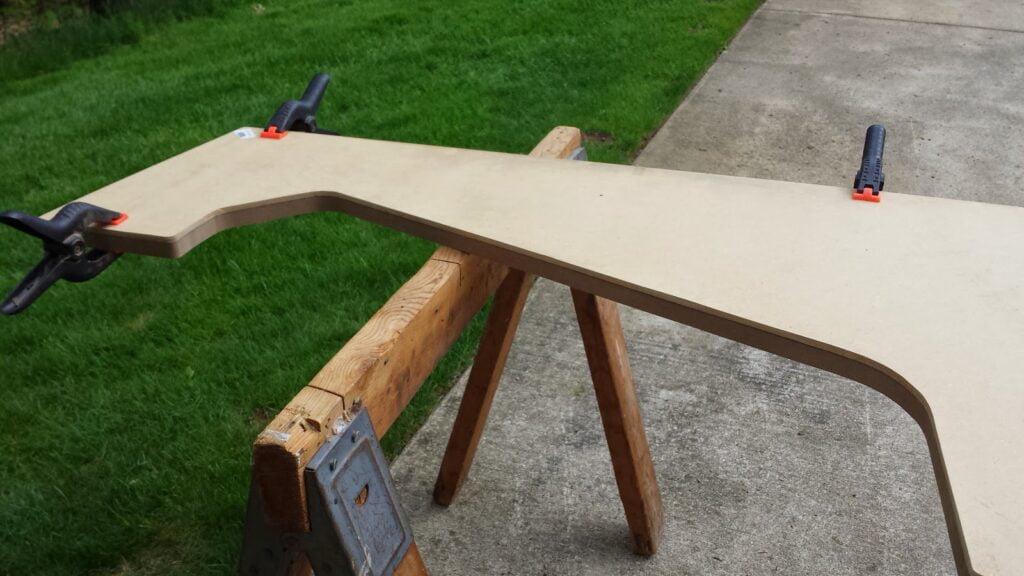
I clamped my template to the top half of a 2 x 6ft sheet of 3/4″ MDF. (This sheet is the product of Lowes cutting a 4 x 8ft MDF sheet into one 2 x 4ft sheet and two 2 x 6ft sheets for me so I could fit them into my car).
I traced around the wooden template and removed it. I then used a straightedge to continue the incomplete straight line down from the bottom-front. I cut around the outline with my jigsaw, leaving about 1/2″ of space between my cuts and the lines I’d drawn. I left that extra bit of space between my jigsaw cuts and the final edge, because I couldn’t make a true perpendicular cut with a jigsaw if my life depended on it. That’s where a router comes in.
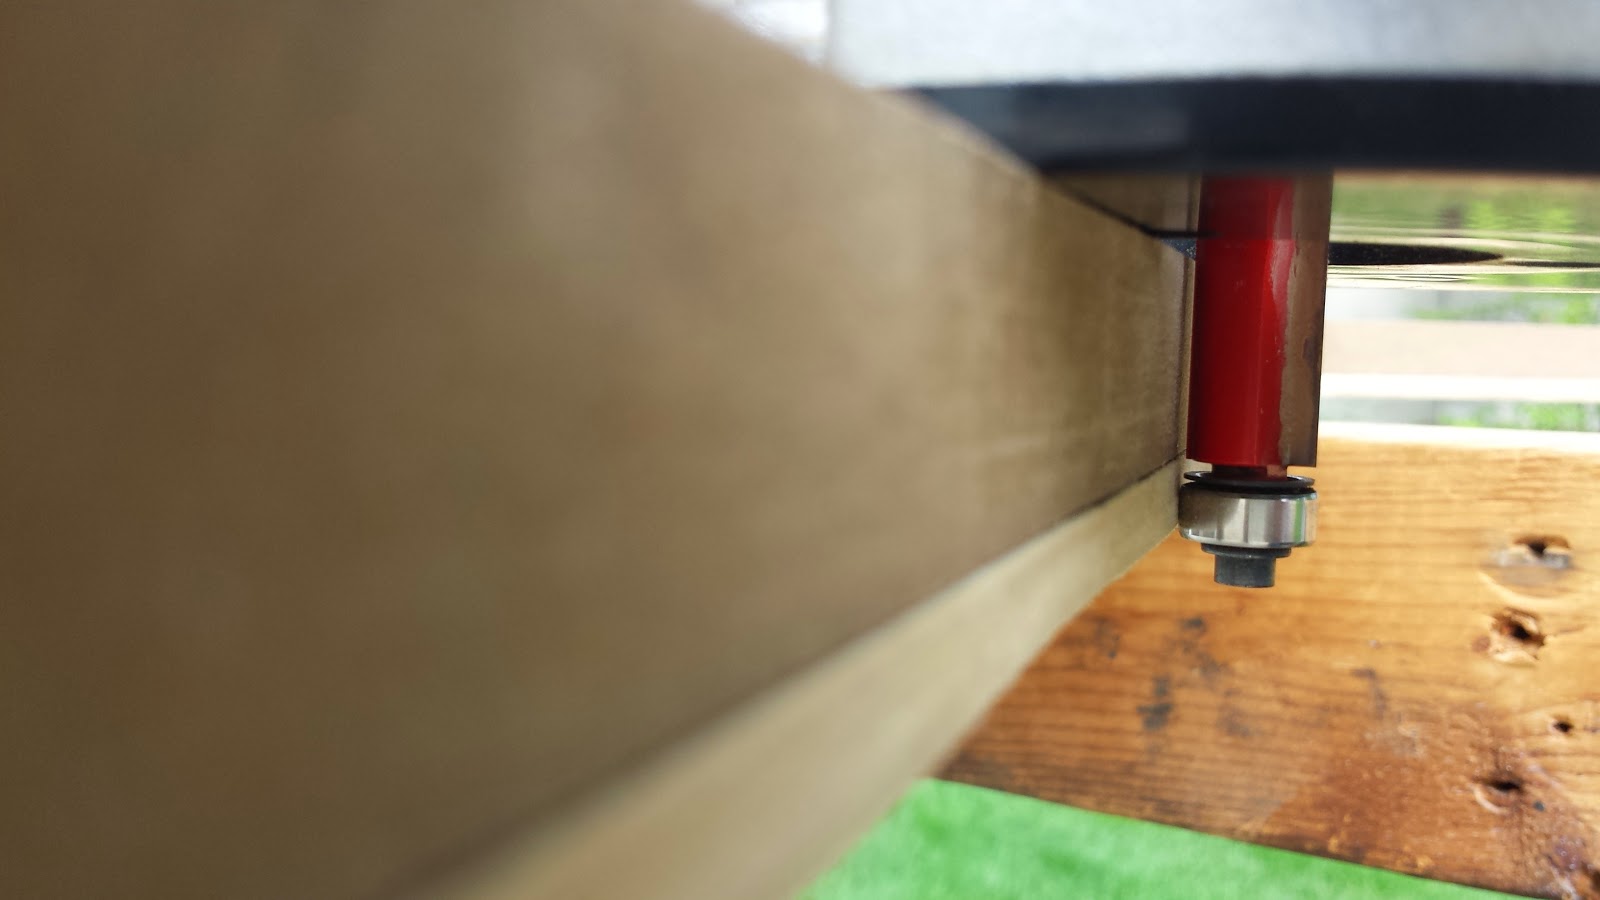
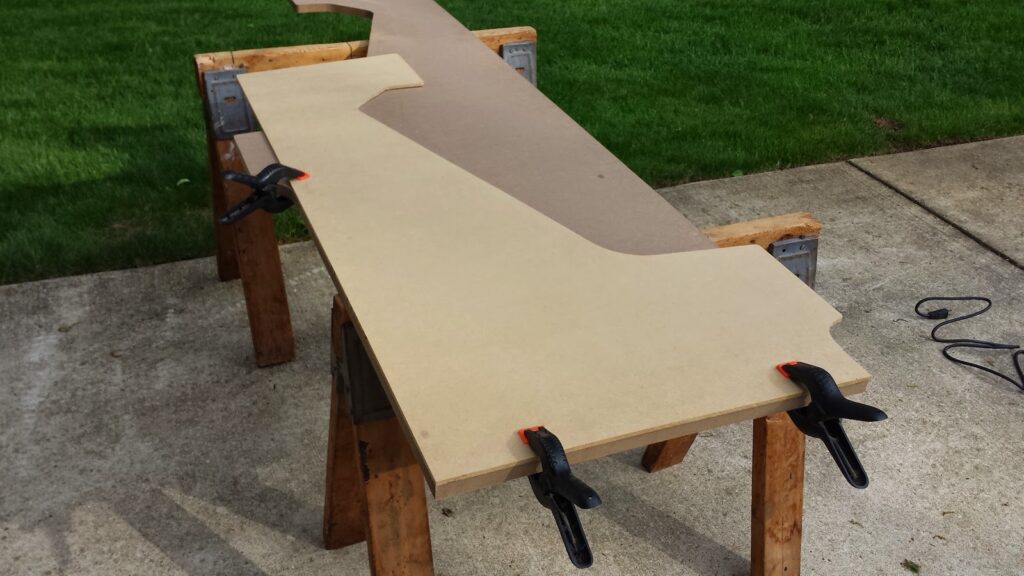
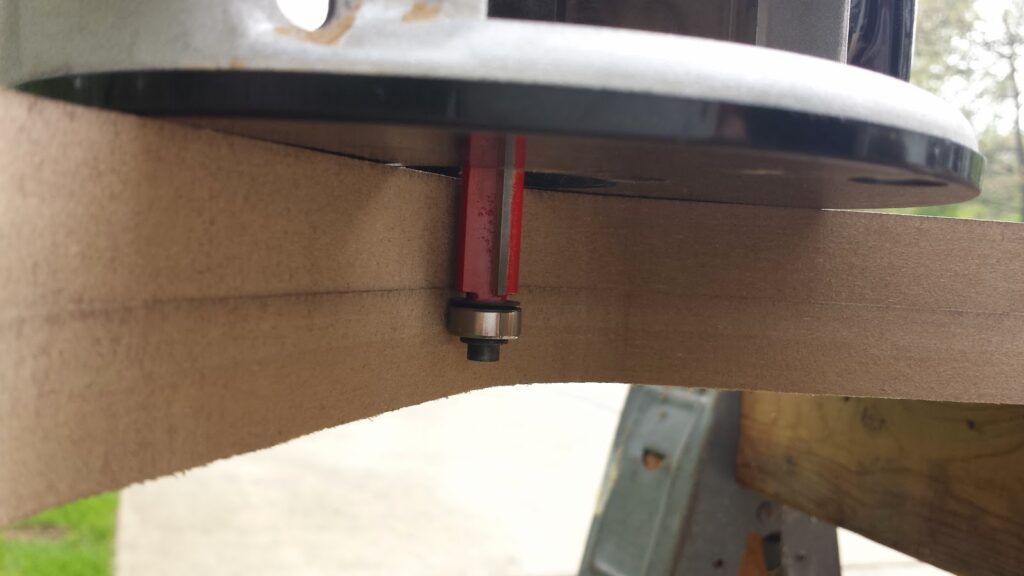
Once I had my rough cutout, I reattached and securely clamped the top-section template. I used a duplicating router bit to cut the side panel to match the template (see the photo at the top of this post for how it works).
When I got to the bottom 2 feet where the wooden template stopped, I just flipped the template over, re-clamped it, and used the straight edge on the back as a guide.
With one side completed, I repeated this on the second side. This time, I used the first side as the template piece.
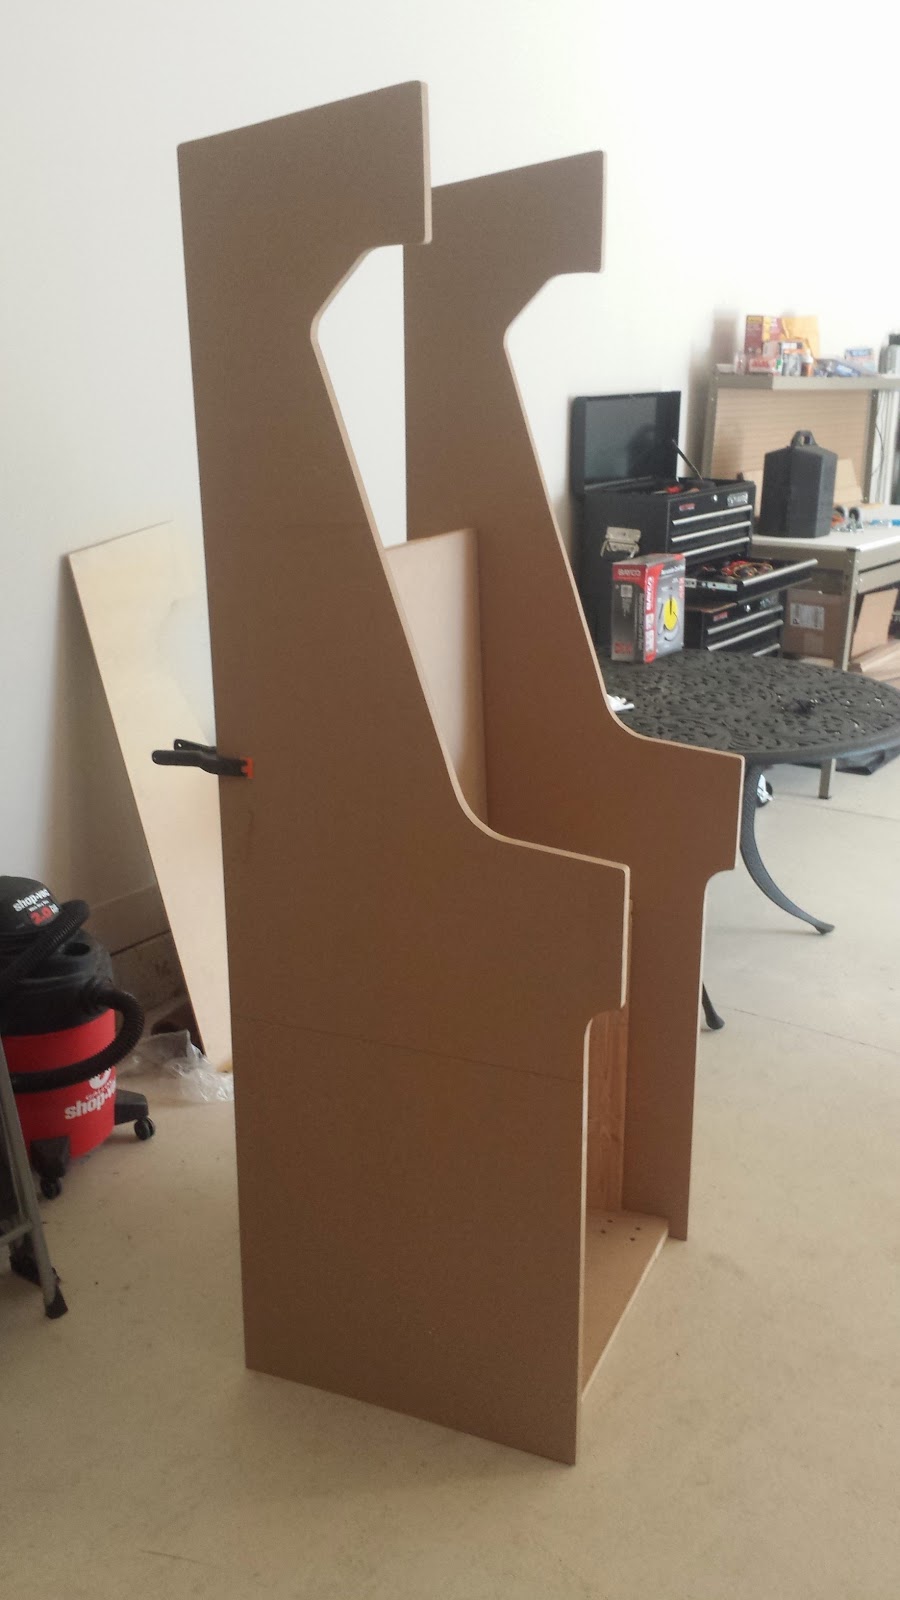
Once I got the sides cut out, just for fun, I clamped them to the frame so I could get an idea for the eventual scale and look of what I’ve been working on.
Any updates? Have been enjoying reading about this build. Also, I love the circular saw guide you made!
Thanks! I'll have some more updates in the next week or two.
I think I'll be doing a lot of assembly this coming up weekend. I basically have all of the separate components cut out and tooled. Now it's time to put them all together.
In the meantime, I also have some more recent progress here.