I just realized that I’ve been seriously negligent on my arcade cabinet updates. I actually finished it a few months ago!
Next up: The speaker panel.
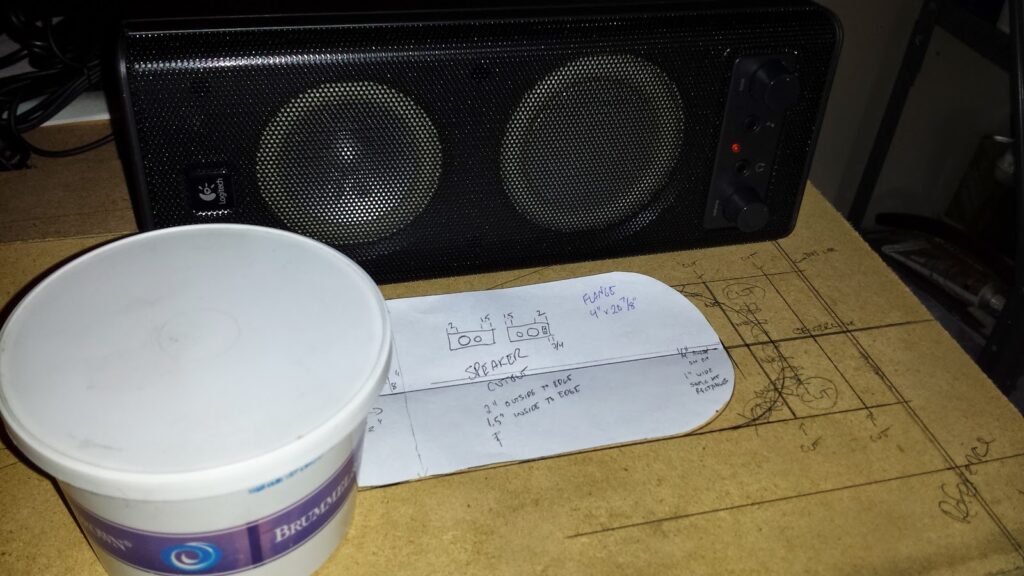
First off, I created a template on 1/4″ MDF to help me rout out the speaker holes. The old butter dish gave me a round stencil for the cutout.
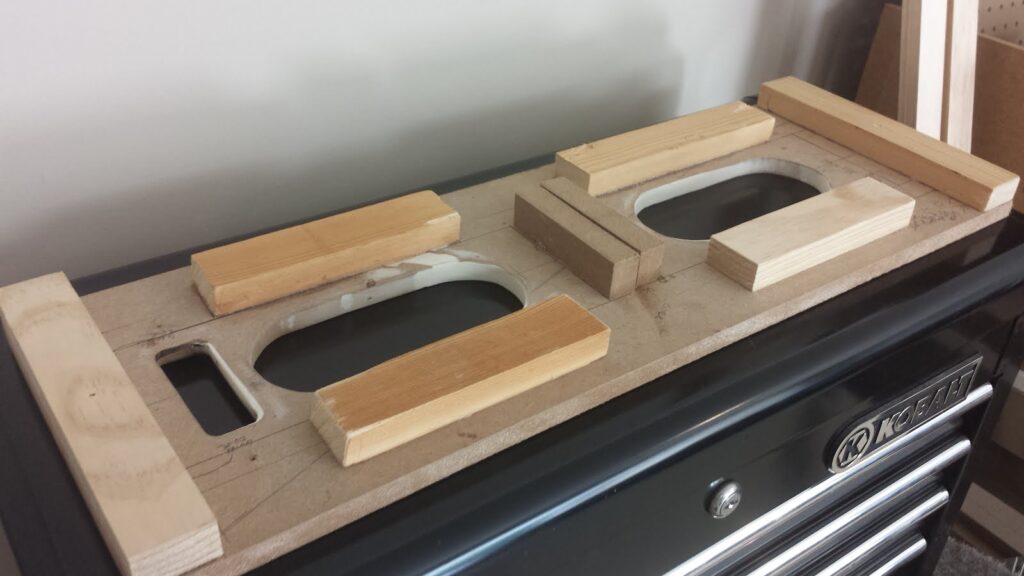
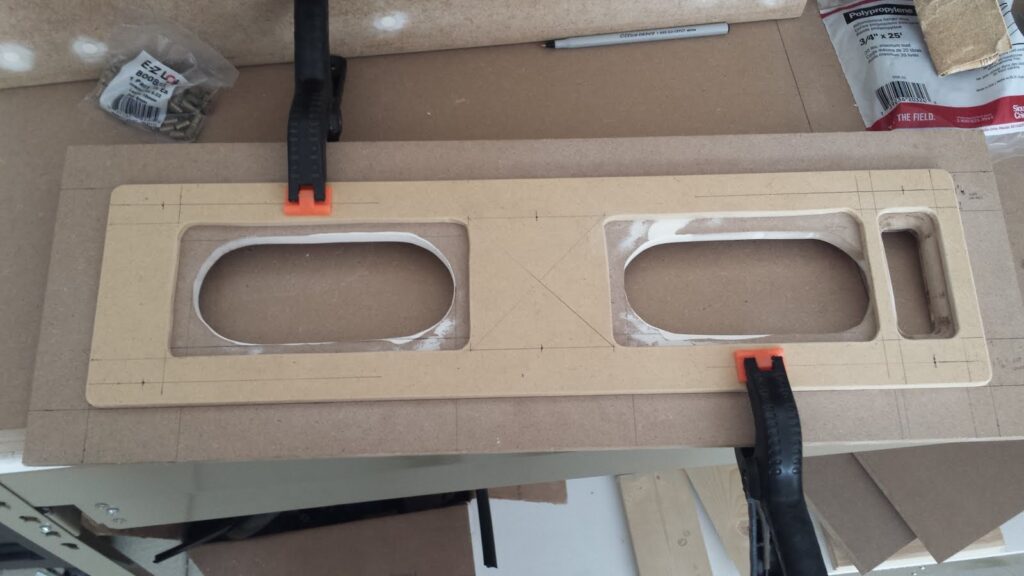
Then I used this template to route out the speaker holes (and patched up the spots where the cruddy 40-year-old router I was using mucked up the panel). I glued scrap MDF and furring strips to the back in order to keep the speakers properly aligned.
As you can see below, once the cabinet was assembled, I then used EZ-Loks & screws to screw some plastic hanger straps into the furring strips to keep the speakers secured.

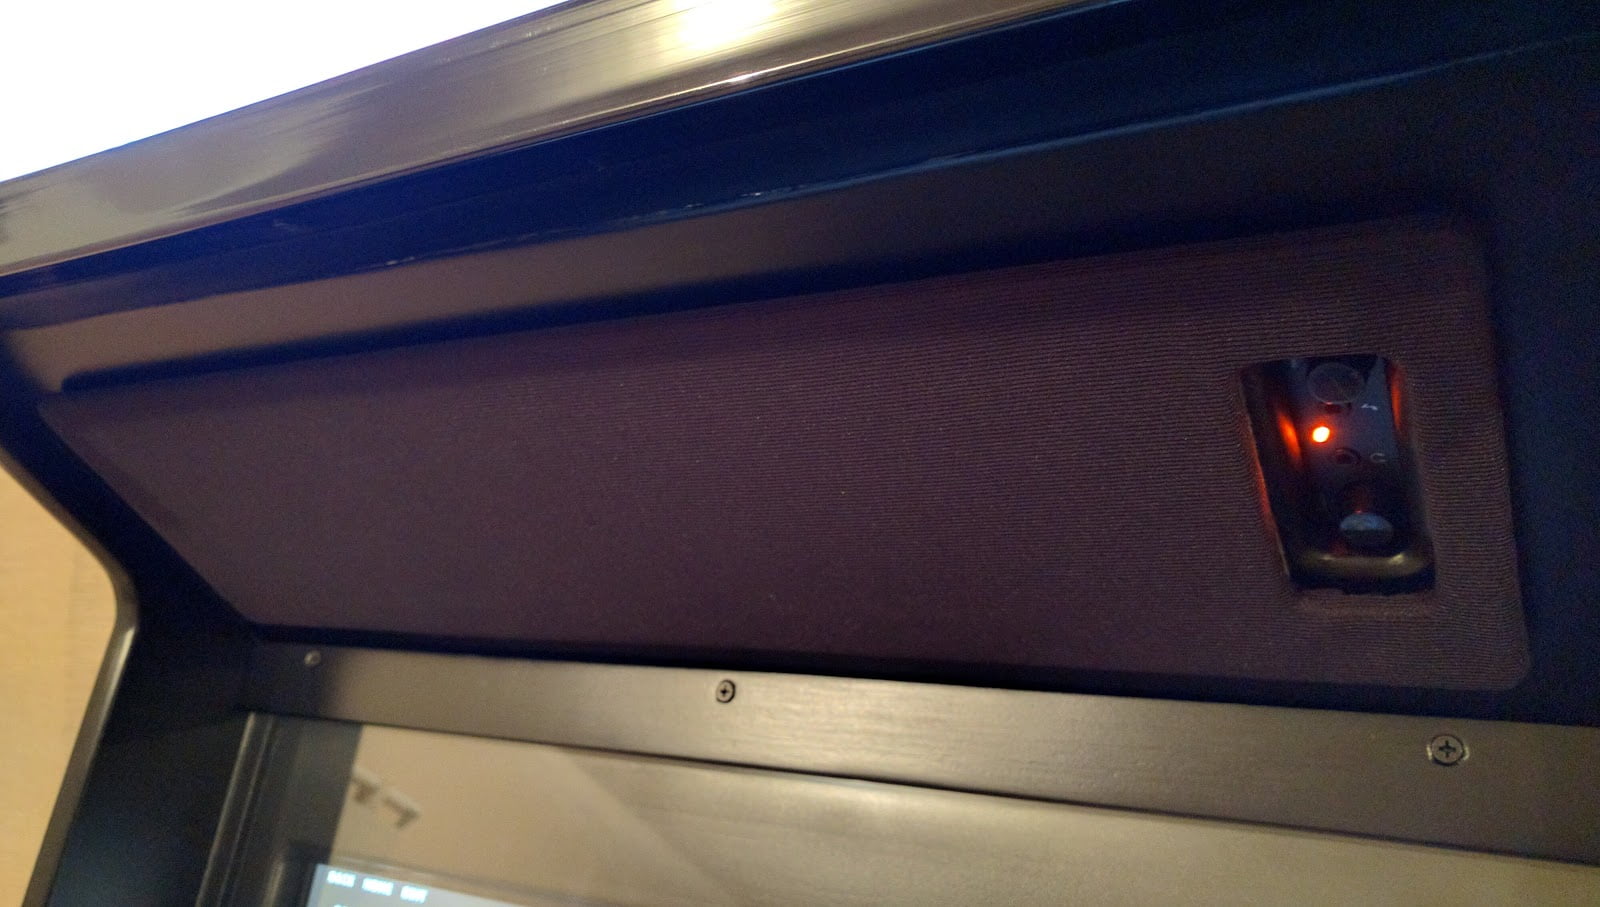
On the front, rather than having some off-the-shelf computer speakers showing through the poorly cut holes, I wanted to give the speaker grill a more professional look. I started by cutting a piece of 1/4″ MDF to the size of the speaker cover I wanted, and then I cut holes for the speakers and the dials.
To keep the cover in place, I ordered some Parts Express grill guides off Amazon.
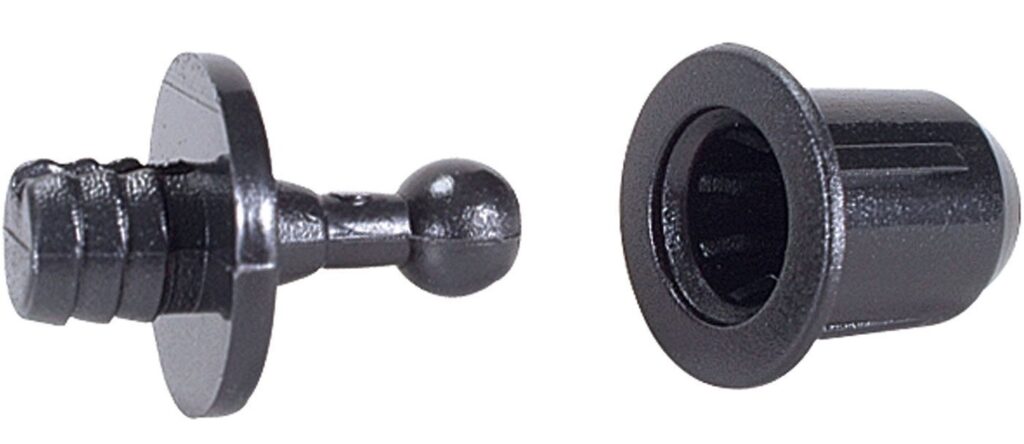
With the cover still clamped as shown above, I drilled through both the cover and the speaker panel with a small-diameter drill bit. This would ensure that the grill guides would line up correctly when I installed them. I widened the holes to 7/32″ on the speaker cover, and 11/32″ on the speaker panel. It takes a LOT of force to get these guides into the holes. (Note: I recommend hammering these into place before you completely assemble the cab. In my case, I waited until the cab was nearly completed. When I hammered the female guides into the speaker panel, I ended up partially ruining the bondo patch I’d made in the joint between the speaker panel and the marquee panel.)
Then I primed & painted the cover black, and covered it using speaker fabric and spray glue from Parts Express.
To do so, I cut the fabric to size so it would wrap completely around the front and back (with the overlapping seam on the back, not passing through any of the holes in the cover). I sprayed the glue onto the back surface of the cover only, let it dry for a few minutes, and then wrapped the cover with the speaker cloth. I cut the speaker cloth inside the hole for the dials, and wrapped it in a way that the cloth would adhered to the glue. Then I hammered the grill guides into place, so they would also help keep the cloth tacked down on the back.
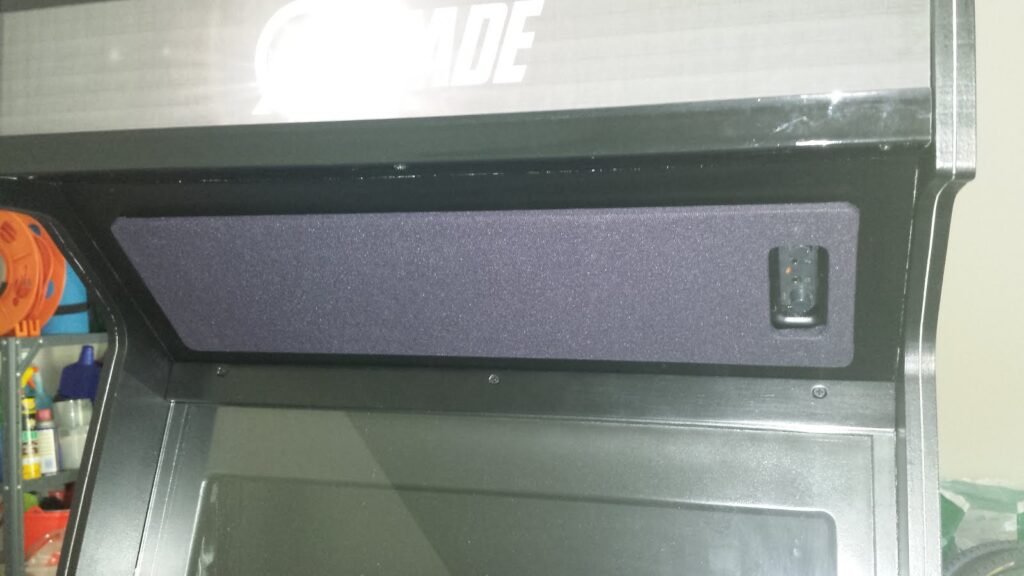
With the cover completed, I just pressed it into place on the cab, where I had already hammered-in the female speaker pins.