The marquee serves no real functional purpose except to look really freakin’ cool. Building this part wasn’t exactly rocket surgery (although I had a couple struggles)
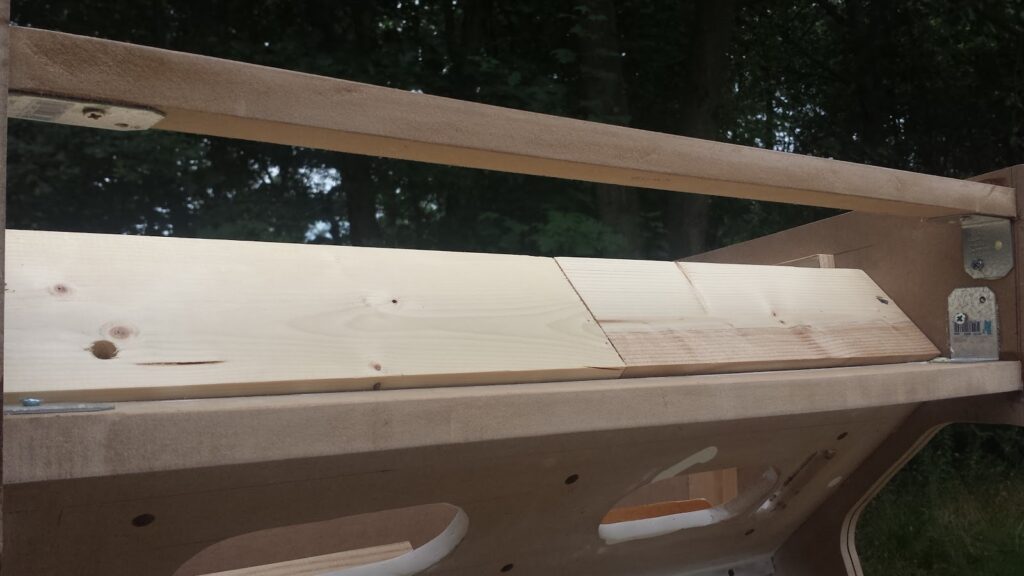
Basically, I needed a ceiling and a floor for the marquee. These are just strips of MDF held in place by metal L-brackets (if I’d used little blocks of wood to attach them, there’d be dead spots on the marquee where light couldn’t shine through the wood). Then I added some scrap wood to the back of the marquee area where I’d mount the backlight.
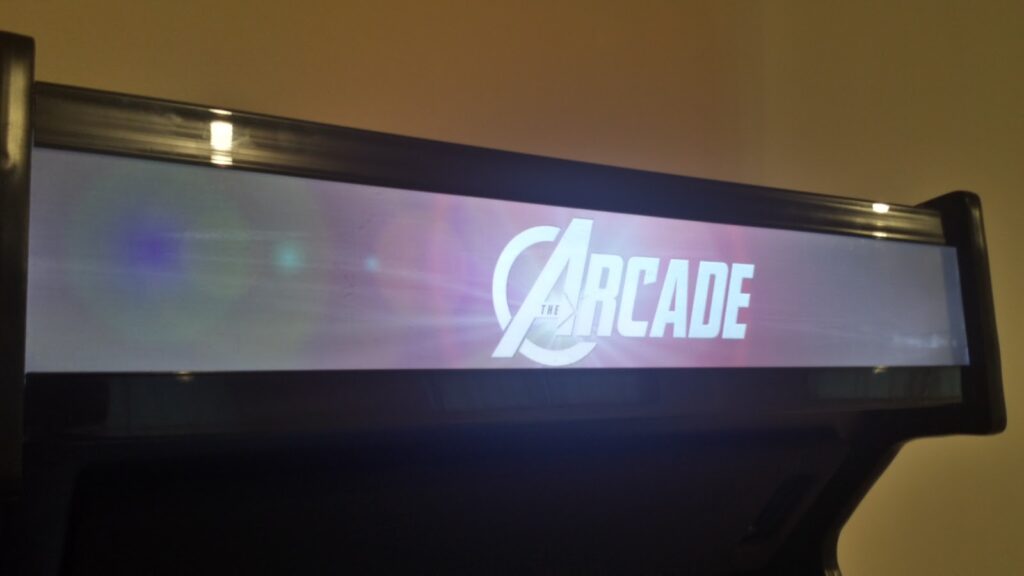
I ordered my marquee artwork, along with the side panel and keyboard surface art, from Souldraw. The marquee art is printed on Backlit PVC Film. My art had some scuffing and air bubbles, but for the price, I’m happy with what I got from Souldraw. I had the art printed with about an inch of buffer space around all 4 edges, so I could cut it to size and not worry about it being too small.

The marquee art is simply sandwiched between two pieces of Plexiglas. I left the protective film on the piece of Plexiglass behind the art, since it helped to diffuse the light somewhat.
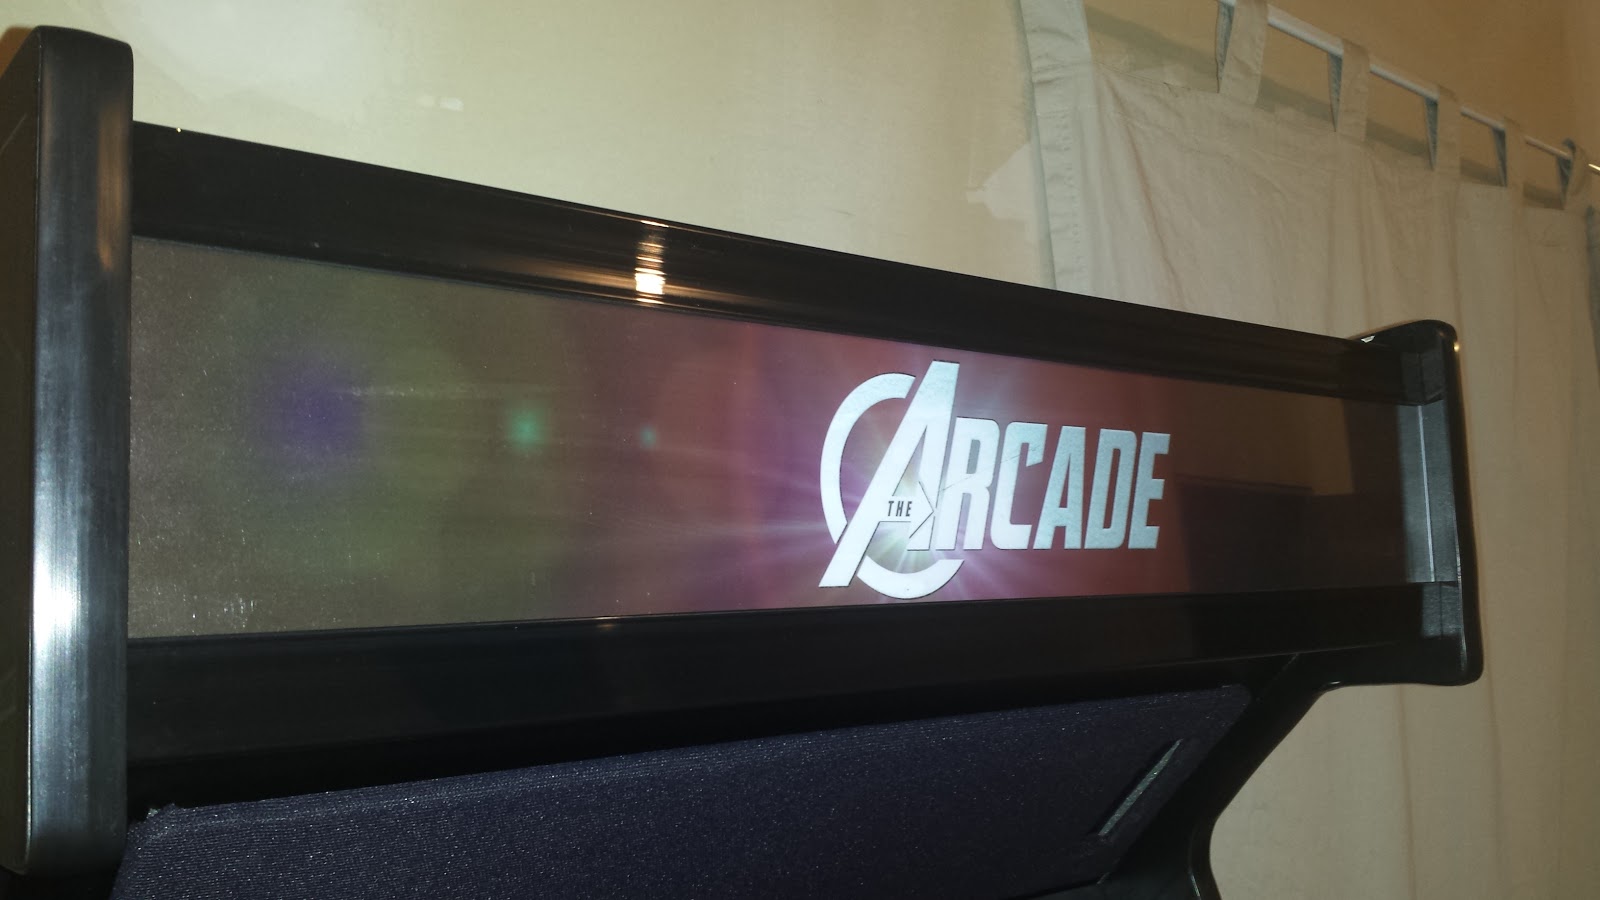
You can buy specialized arcade marquee brackets to hold the art in place, but they tend to be somewhat overpriced. I used clear plastic corner guards that I picked up from Home Depot for about 8 bucks.
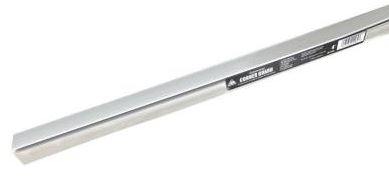
These brackets have little dimples dispersed across them to help nail them onto walls, so I had to cut the brackets in such a way that no dimples would show up on the front surfaces. There are a couple dimples on the top & bottom, but they’re totally not noticeable.
With the corner guards cut to size, I clamped them into place with the art/plexiglass in position. Then I drilled three small-diameter pilot holes through the top and bottom surfaces. Using these holes as guides, I added EZ-Loks to the cabinet (I love these things!). Then I widened & slightly countersunk the holes on the brackets so I could screw machines screws into them (much like I did with the wooden ruler on the monitor glass retainer).
Next, I painted the inside surface of the brackets with black spraypaint, and then covered the dried paint with tape to protect it from scratching. This gave the brackets a nice, glossy, black finish.
Now I needed to light my marquee.
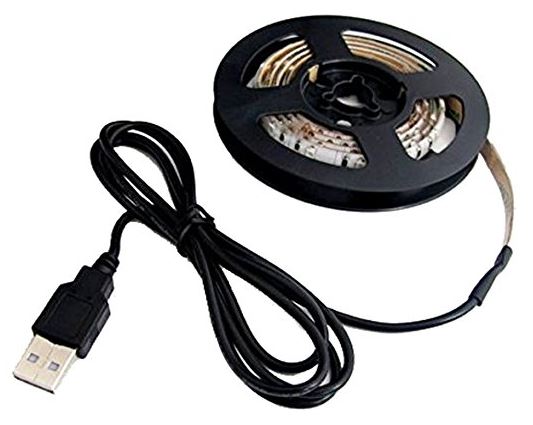
First I tried a fluorescent light fixture, but it was too big for the space I’d left. Then I tried LED tape powered by an AC adapter, but every adapter I tried caused electrical interference with the sound system in my cabinet. I eventually found USB-powered LED tape that worked great. Also, since it’s USB-powered, it automatically turns on and off with the PC powering my arcade machine.