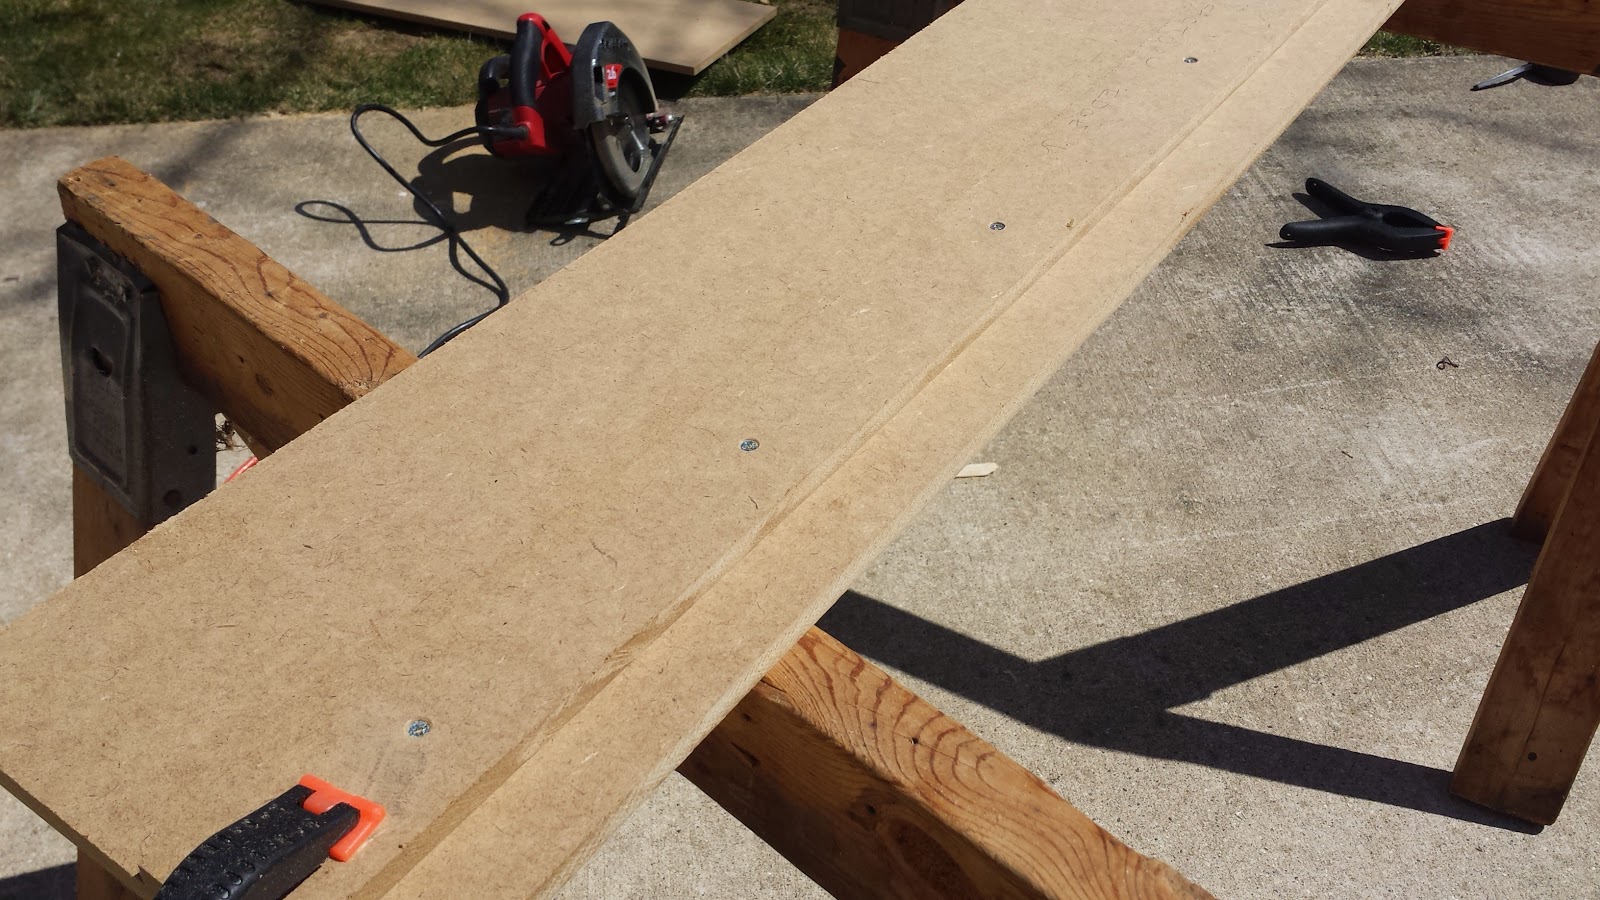
I don’t own a table saw, and I’ll need to make a lot of long, straight cuts in MDF to build my arcade machine. Rather than drop a few hundred bucks on a table saw, I made a sawboard for less than $20.
I started with two pieces of 2×4 foot 1/2″ MDF from Home Depot (I preferred their MDF over Lowes MDF, because Lowes MDF is undersized, while Home Depot MDF is a full 2 by 4 feet). I clamped the MDF sheets together, and used the one on top as a guide to cut a strip from the bottom. The width of the strip isn’t really important — it just needs to be wide enough to screw onto another piece of wood.
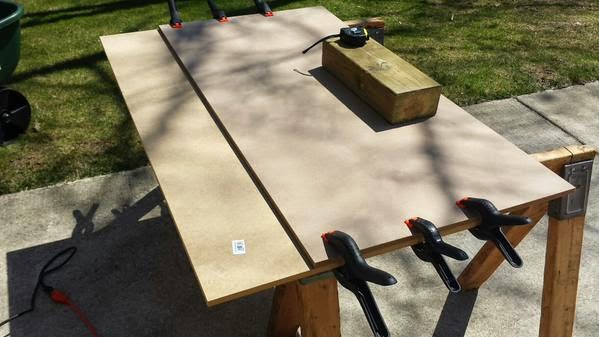
Since I used a factory edge as a guide, the strip I cut off should be nice and straight on both edges. This is important, because the sawboard I’m making will actually work on two sides. I attached the strip onto the sheet of MDF I cut it from, and clamped it at a distance about a half-inch wider than the distance between my circular saw’s guide and blade.
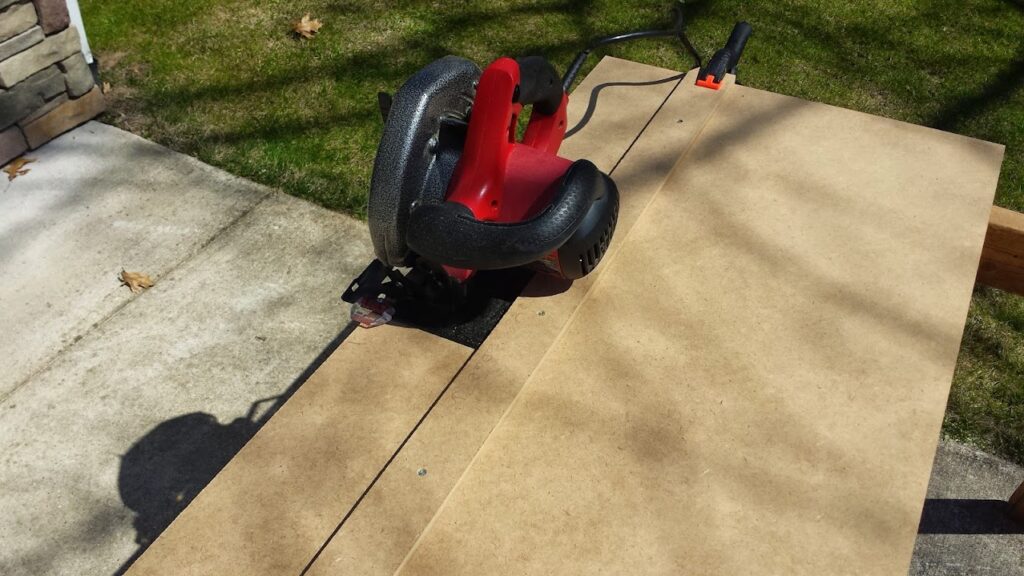
After screwing and gluing the pieces together (pre-drilling holes, and countersinking both sides of the strip — since MDF tends to pull fibers between the boards when you screw into it), I used this guide to cut off the extra half-inch of stock. The edge that is created is a guide that tells you exactly where your cut will be using this saw.
[EDIT: May 27, 2015] – After a few weeks of use, I’m starting to think that MDF may not be the optimal material to use for the sawboard. With changes in humidity. MDF swells and shrinks, and the cutting edge is no longer an accurate representation of where the saw will cut. If I make Sawboard 2.0, I think I’ll use plywood instead.
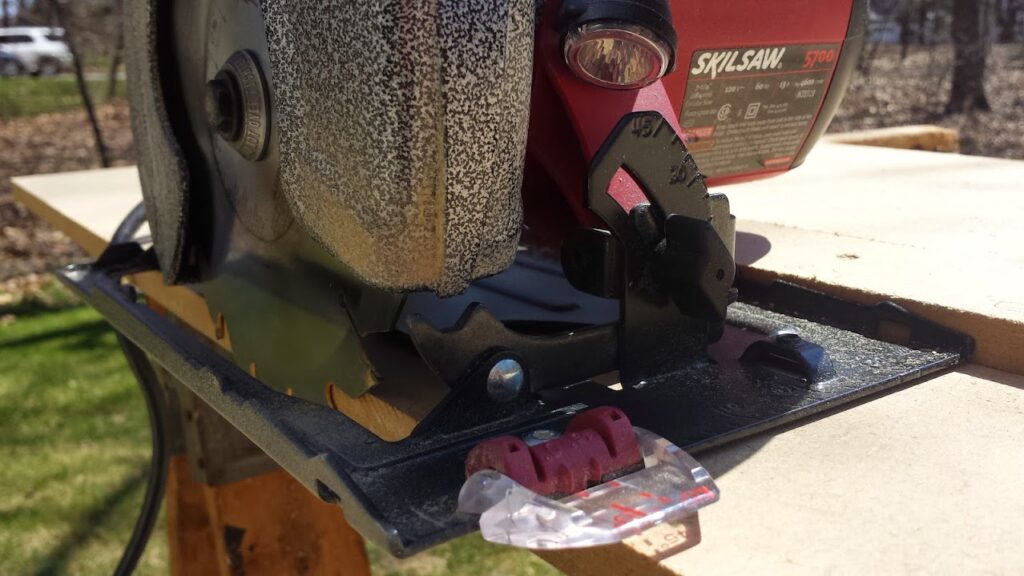
Circular saws have guides on both sides of the blade. So, I used the narrower side of the guide to cut off the other side of the sawboard.
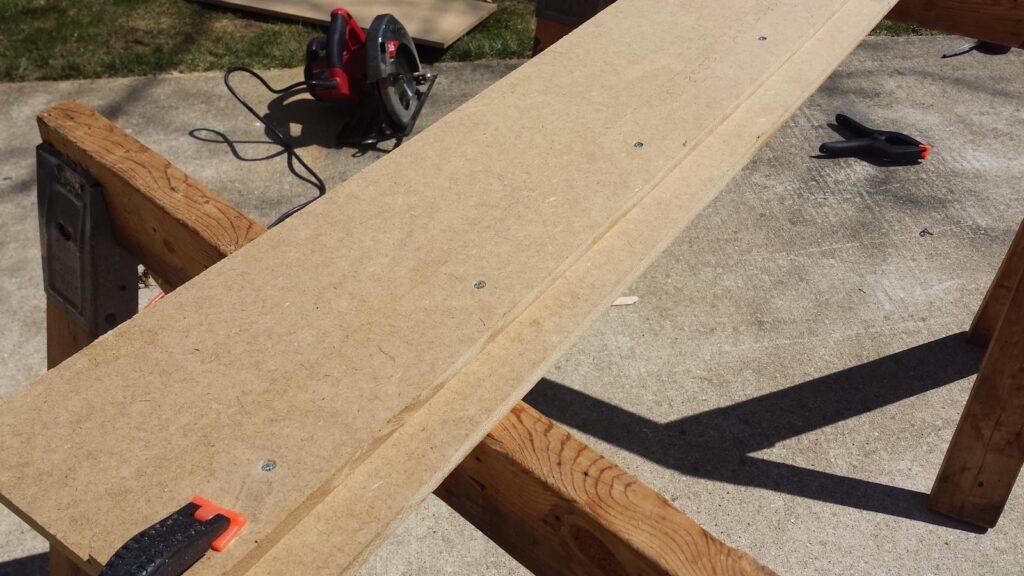
And here’s the finished product. Less than $20, and about a half-hour of work. (Okay, I only had the second sheet of MDF that was used as the initial cut-guide because I was already using it for my project, so that’d technically cost extra.)
