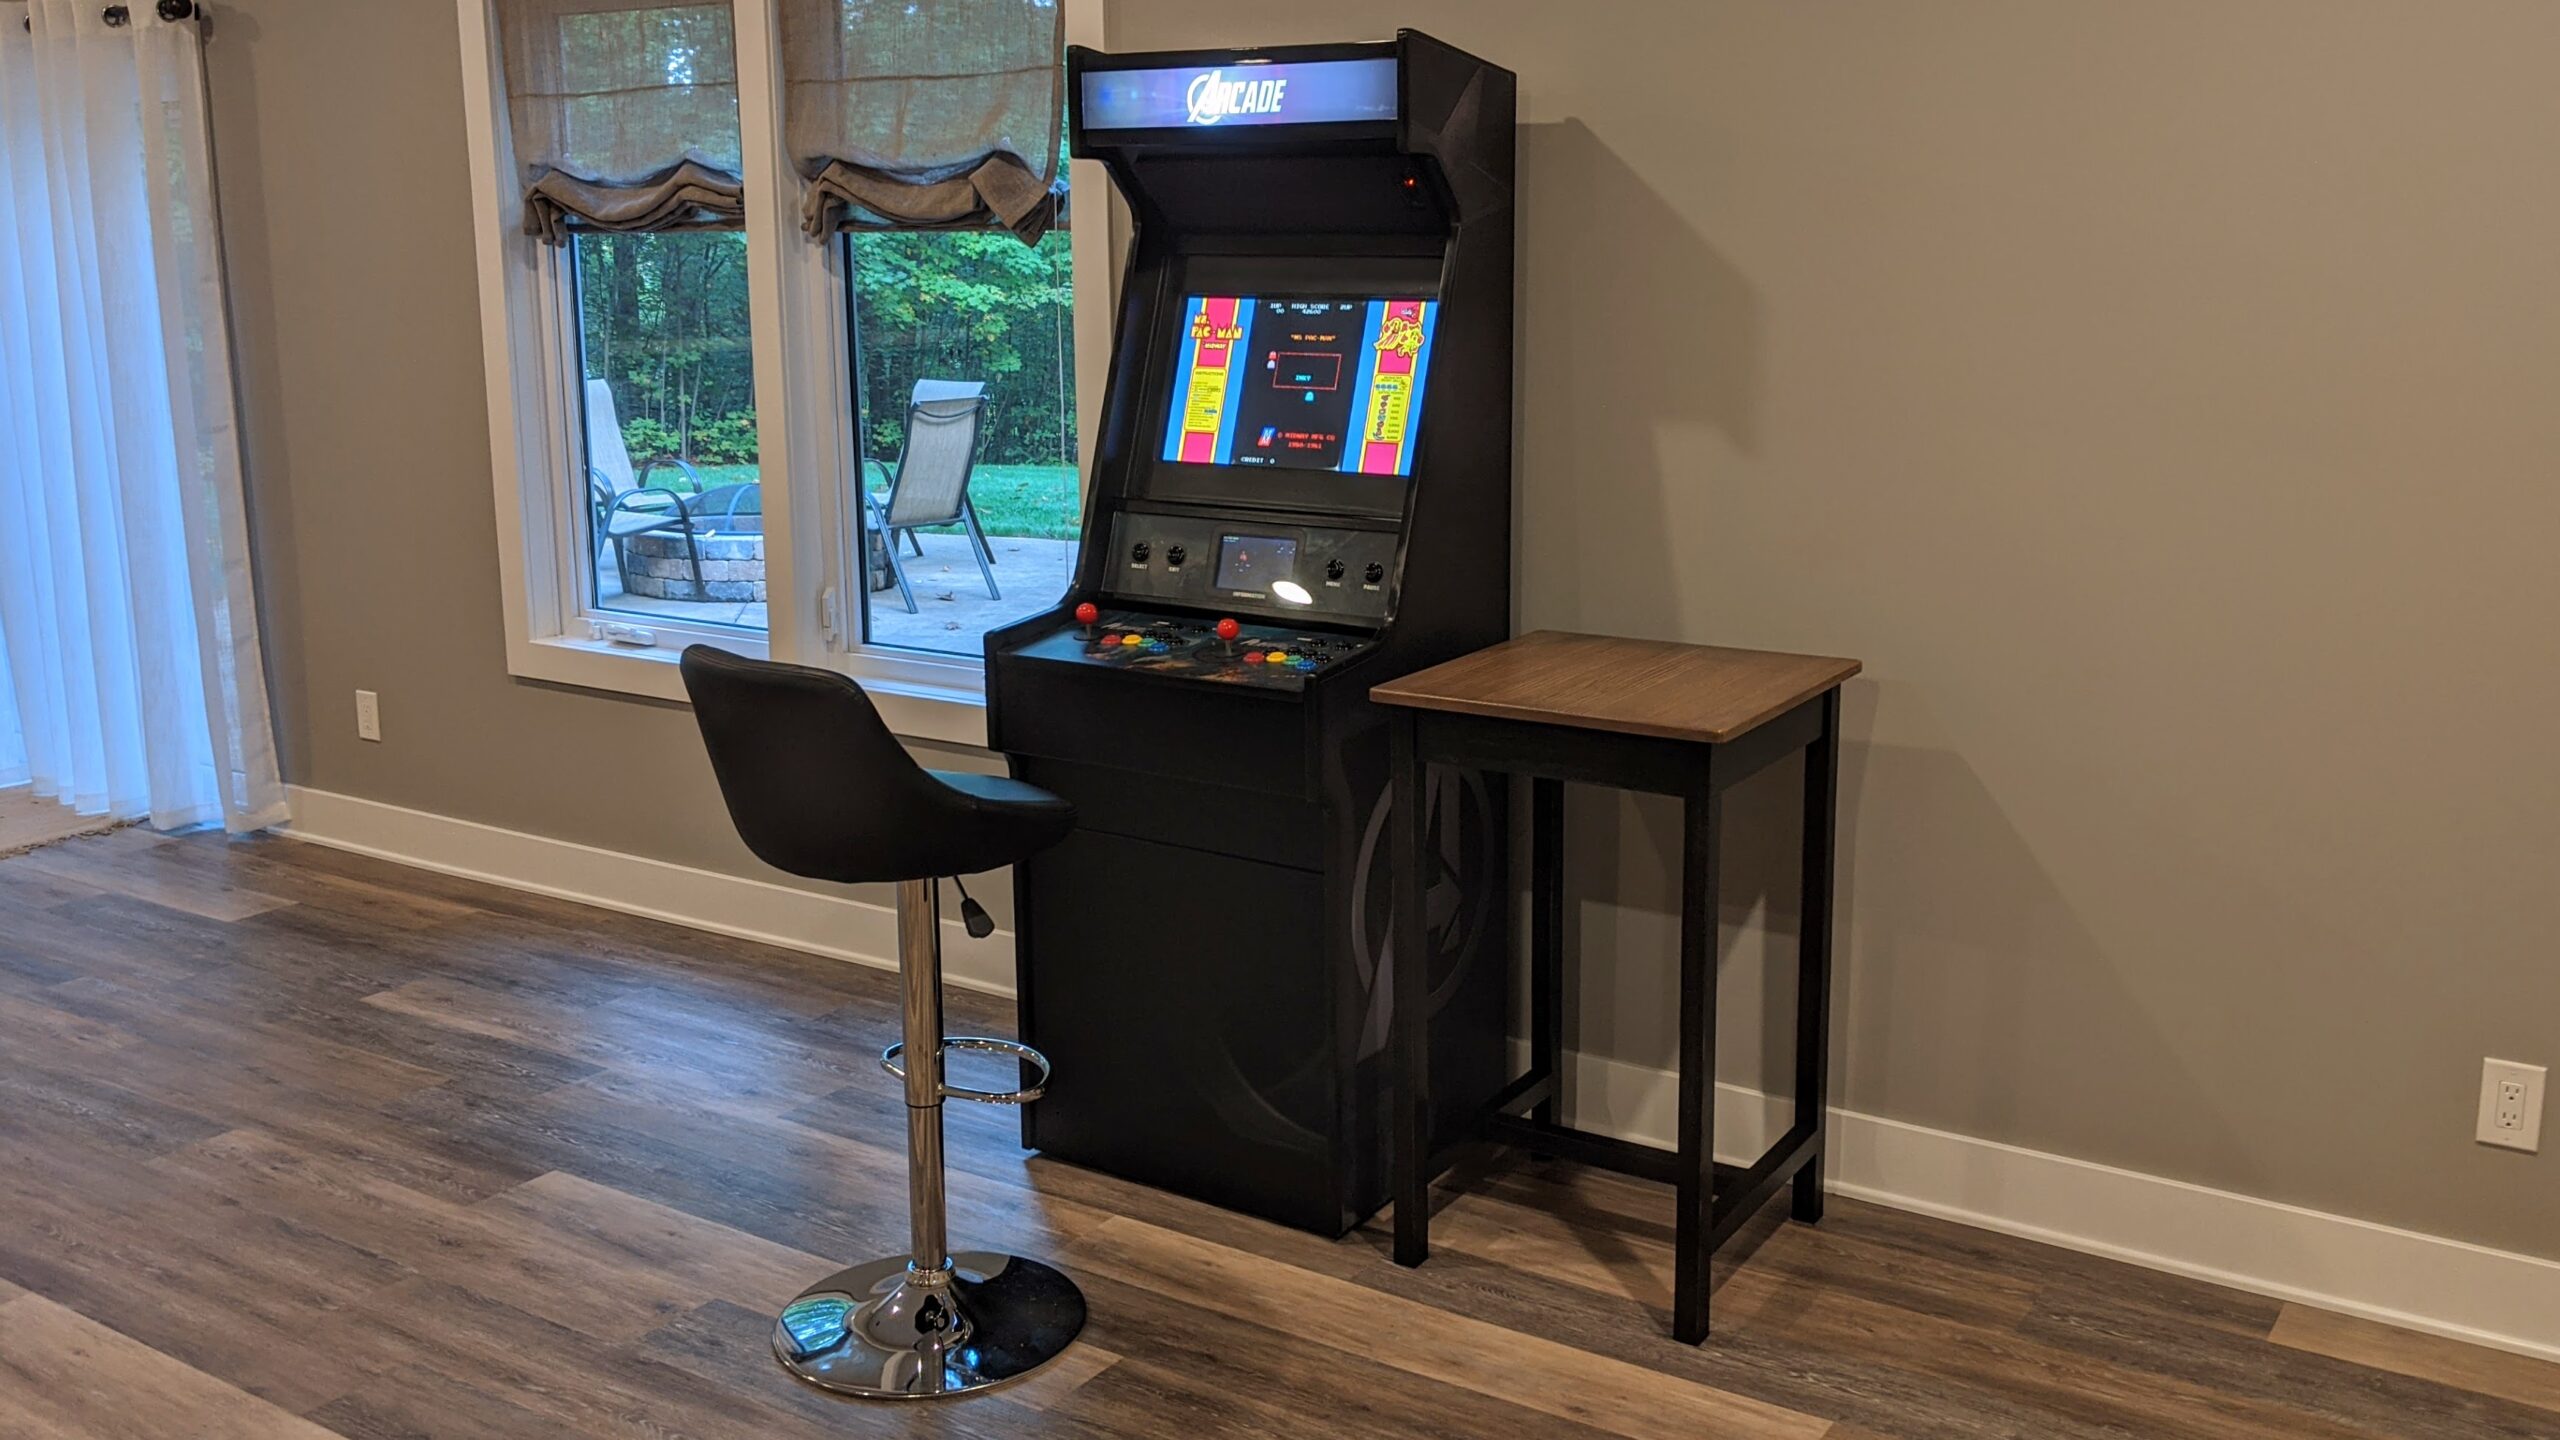
Having recently finished my basement, I’ve been using my arcade cabinet quite a bit more. In doing so, I’ve been wanting a place to put drinks & snacks while I play, or to put a mouse & keyboard when I need to fiddle with the software in the cab.
So, I decided to see if I could build a side table from scratch using nothing but 1-inch (actual ≈ 3/4″ thick) dimensional lumber from a big box hardware store. This is my first “real” piece of furniture.
To begin, I planned out my design (.skp file download) using SketchUp.
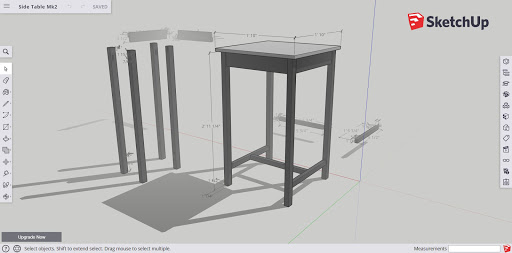
That software had changed quite a bit since I used it to build my arcade cabinet, so I had to hit YouTube to retrain myself a bit on the new web interface.
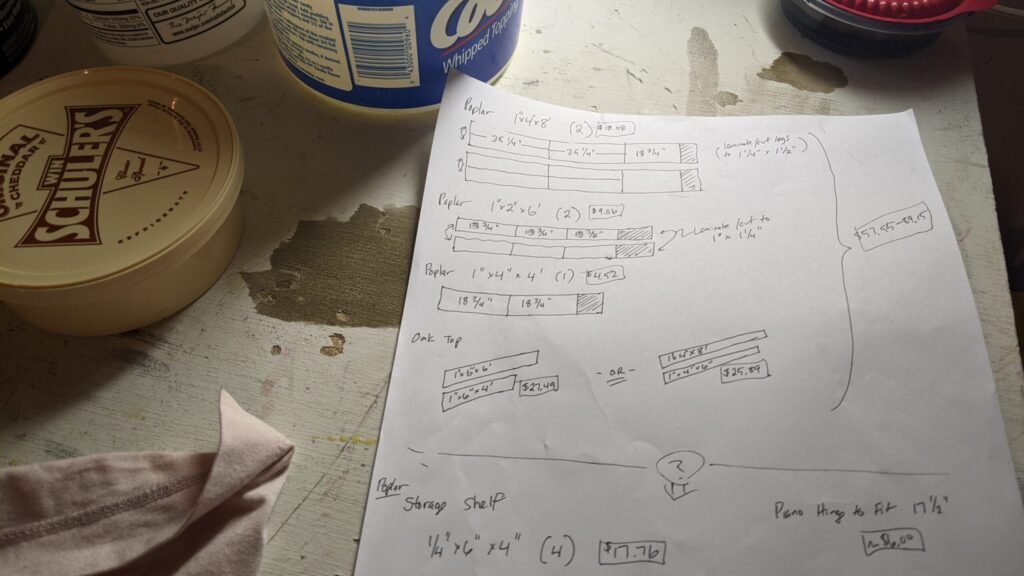
Once the plans were complete, I made a shopping list so I could pick up the lumber.
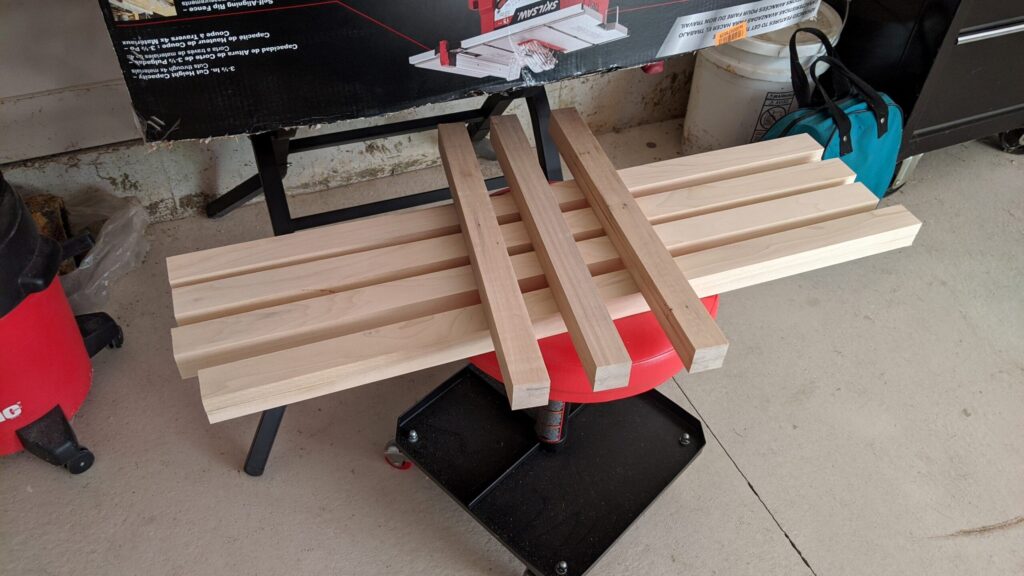
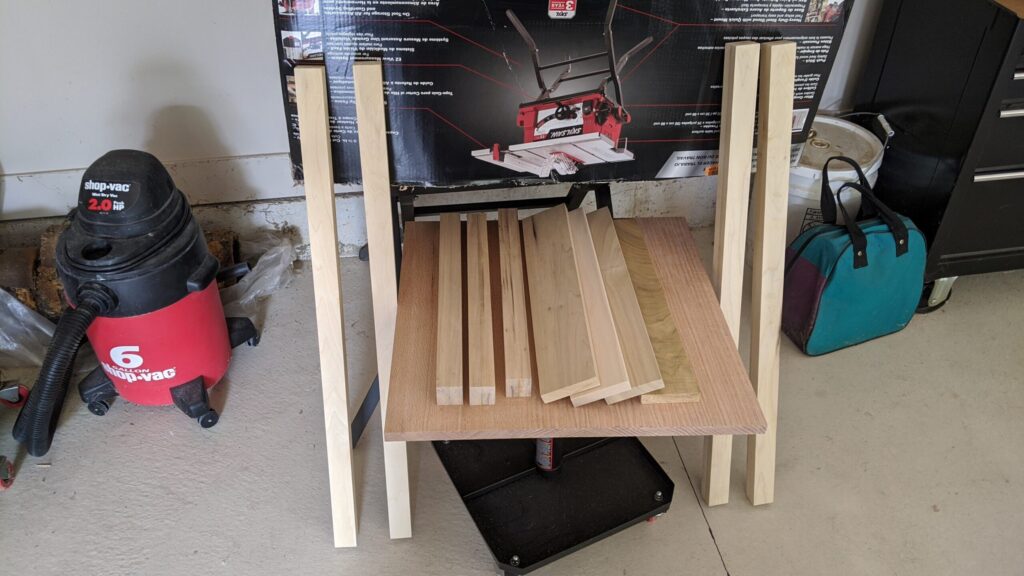
With the lumber in hand, I cut everything to length just slightly longer than I anticipated for the final product (with the intention of trimming it to true length once everything was squared up). To do this cutting, I used the handy cross-cut sled that I built for my new table saw. I’ll write up another post detailing some of the stuff on that.
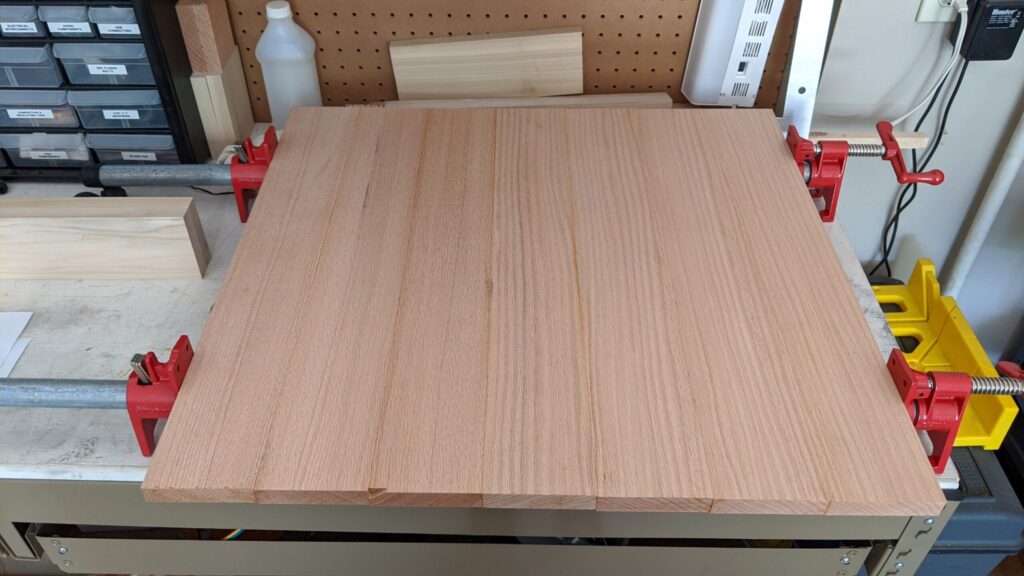
After all of the lumber was cut, it was time to start gluing everything up, starting with the tabletop. I lucked out, and Menards had some surprisingly straight & square oak lumber, so it took exactly zero extra work to shape these pieces to fit seamlessly together. No fancy biscuits or anything here; these boards are just glued end-to-end.
And then the legs (using 1x4s ripped in half) and lower support spans (using 1x2s) had to be glued together, essentially making them all into 2x2s.
Now that I had everything at glued up to its appropriate widths, I used my hand plane to get everything nice and square. Once that was done, the legs ended up being slightly thicker than I’d originally planned. Rather than re-do my plans, I just winged it, and adjusted the lengths of all of my horizontal pieces so the distance from the outside of each leg remained at 20″ like I’d planned.
To join everything together, I decided to use mortise & tenon joinery, because hours of watching YouTube woodworking videos without actually building anything had made me into an anti-pocket-screw snob.
I did the mortises (the “holes”) first, using a 3/8″ up-cut router bit on my plunge router. I then squared up the rounded ends of the mortises with a 3/8″ chisel. Like this:
I made plenty of mistakes, but luckily I could then cut my tenons (the “sticky-outy parts” that go into the holes) on my crosscut-sled to match up with those mistakes. Here’s the general idea:
To help with these cuts (and to give smoother cuts on everything, in general), I replaced the stock sawblade on my table saw with a TCG grinding blade with more teeth. This creates a mostly flat surface at the end of the blade, rather than the extremely jagged surface from a typical cheap blade. I cut all of the tenons just slightly thicker than I needed, then shaved them down by hand with chisels so they fit the mortises nice and snug (but not so tight that they couldn’t be separated by hand).
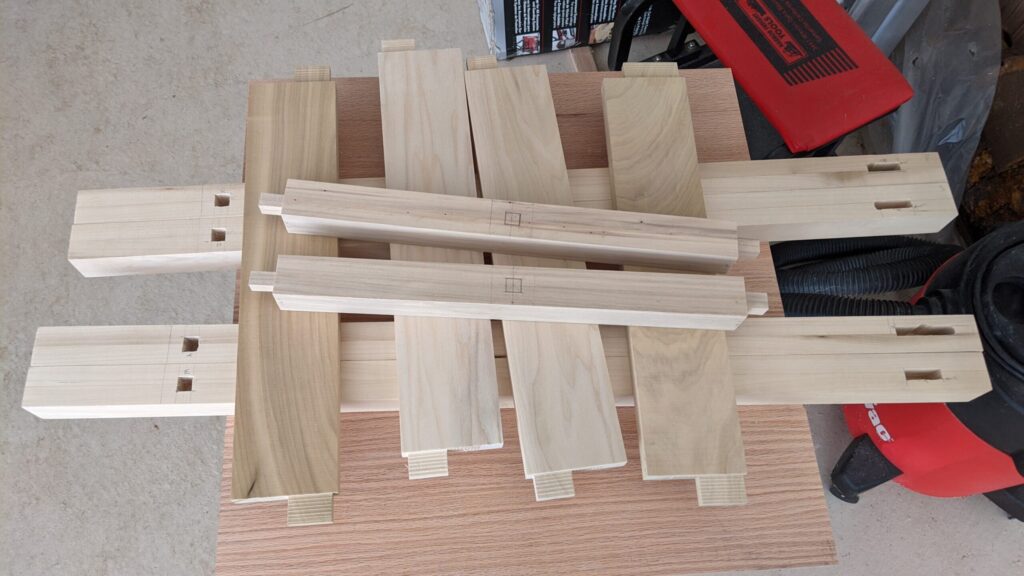
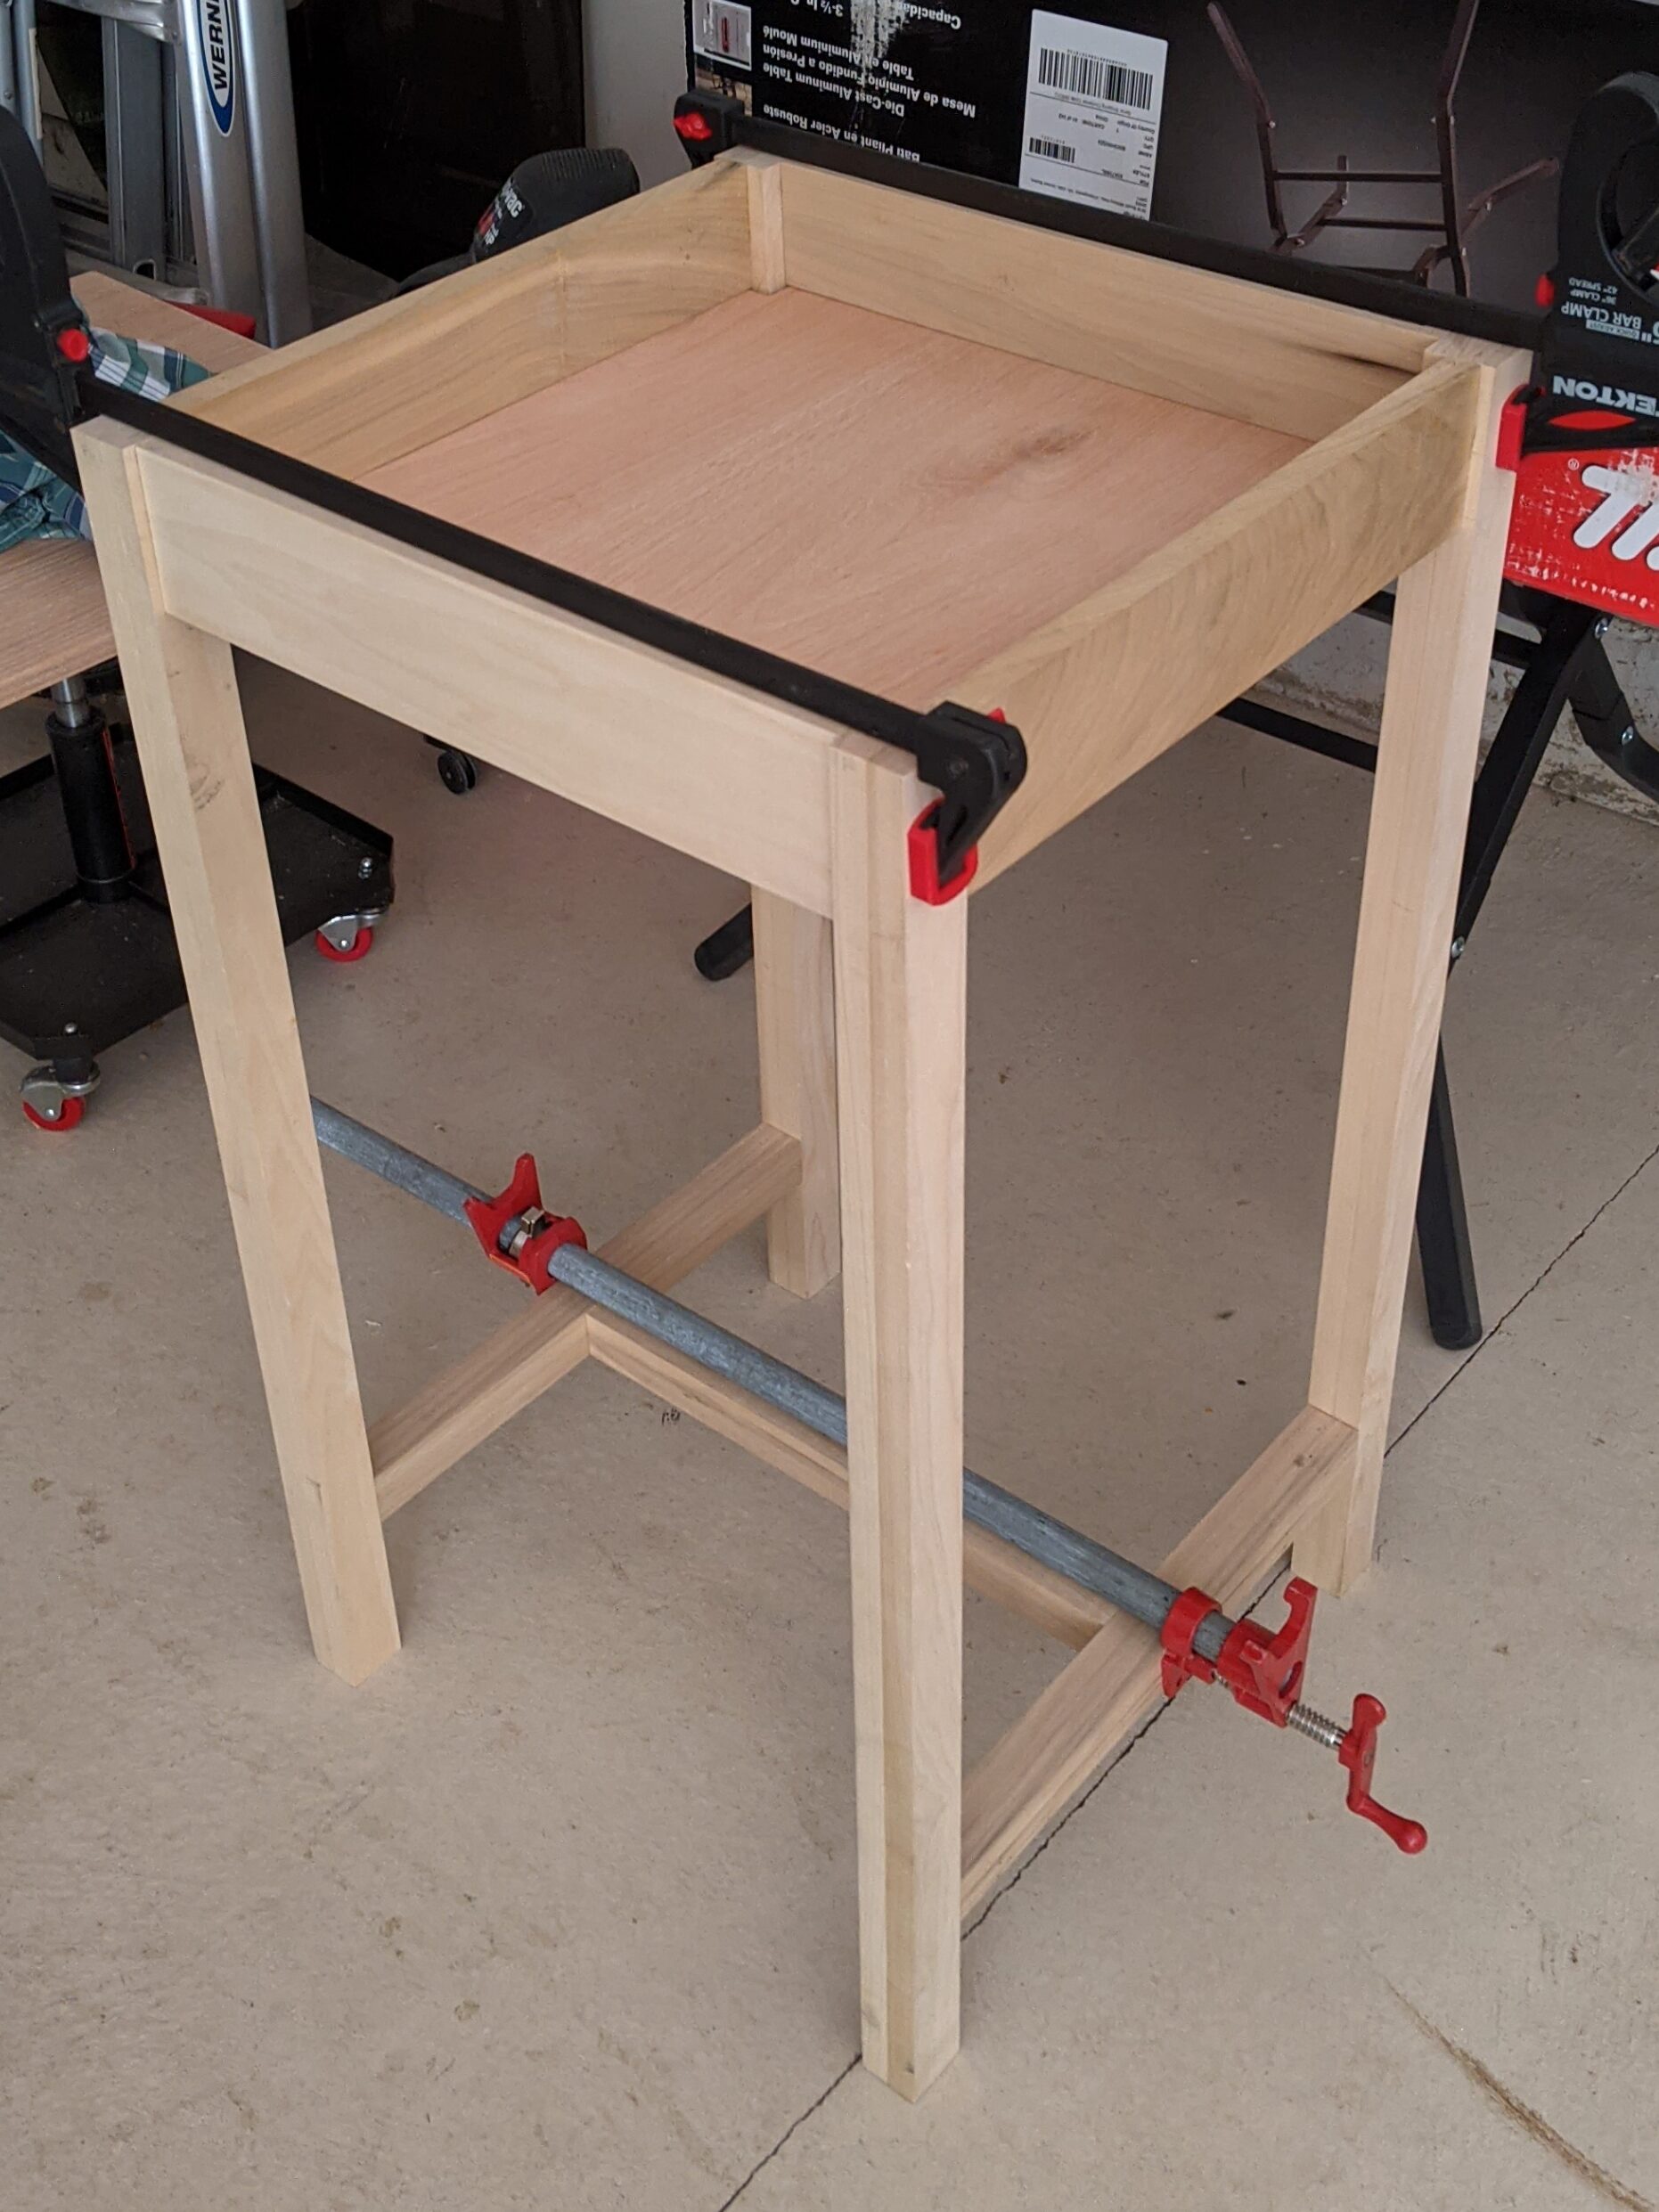
And here are (almost) all of the pieces dry-fitted together using just those mortises & tenons.
The table sat like this for a week while I waited for the next weekend to roll around when I could next work on it. And then I made everything permanent and glued it all in place. No screws or nails were used for any of this.
Now that everything was assembled, it was time to try and make the color match my basement.
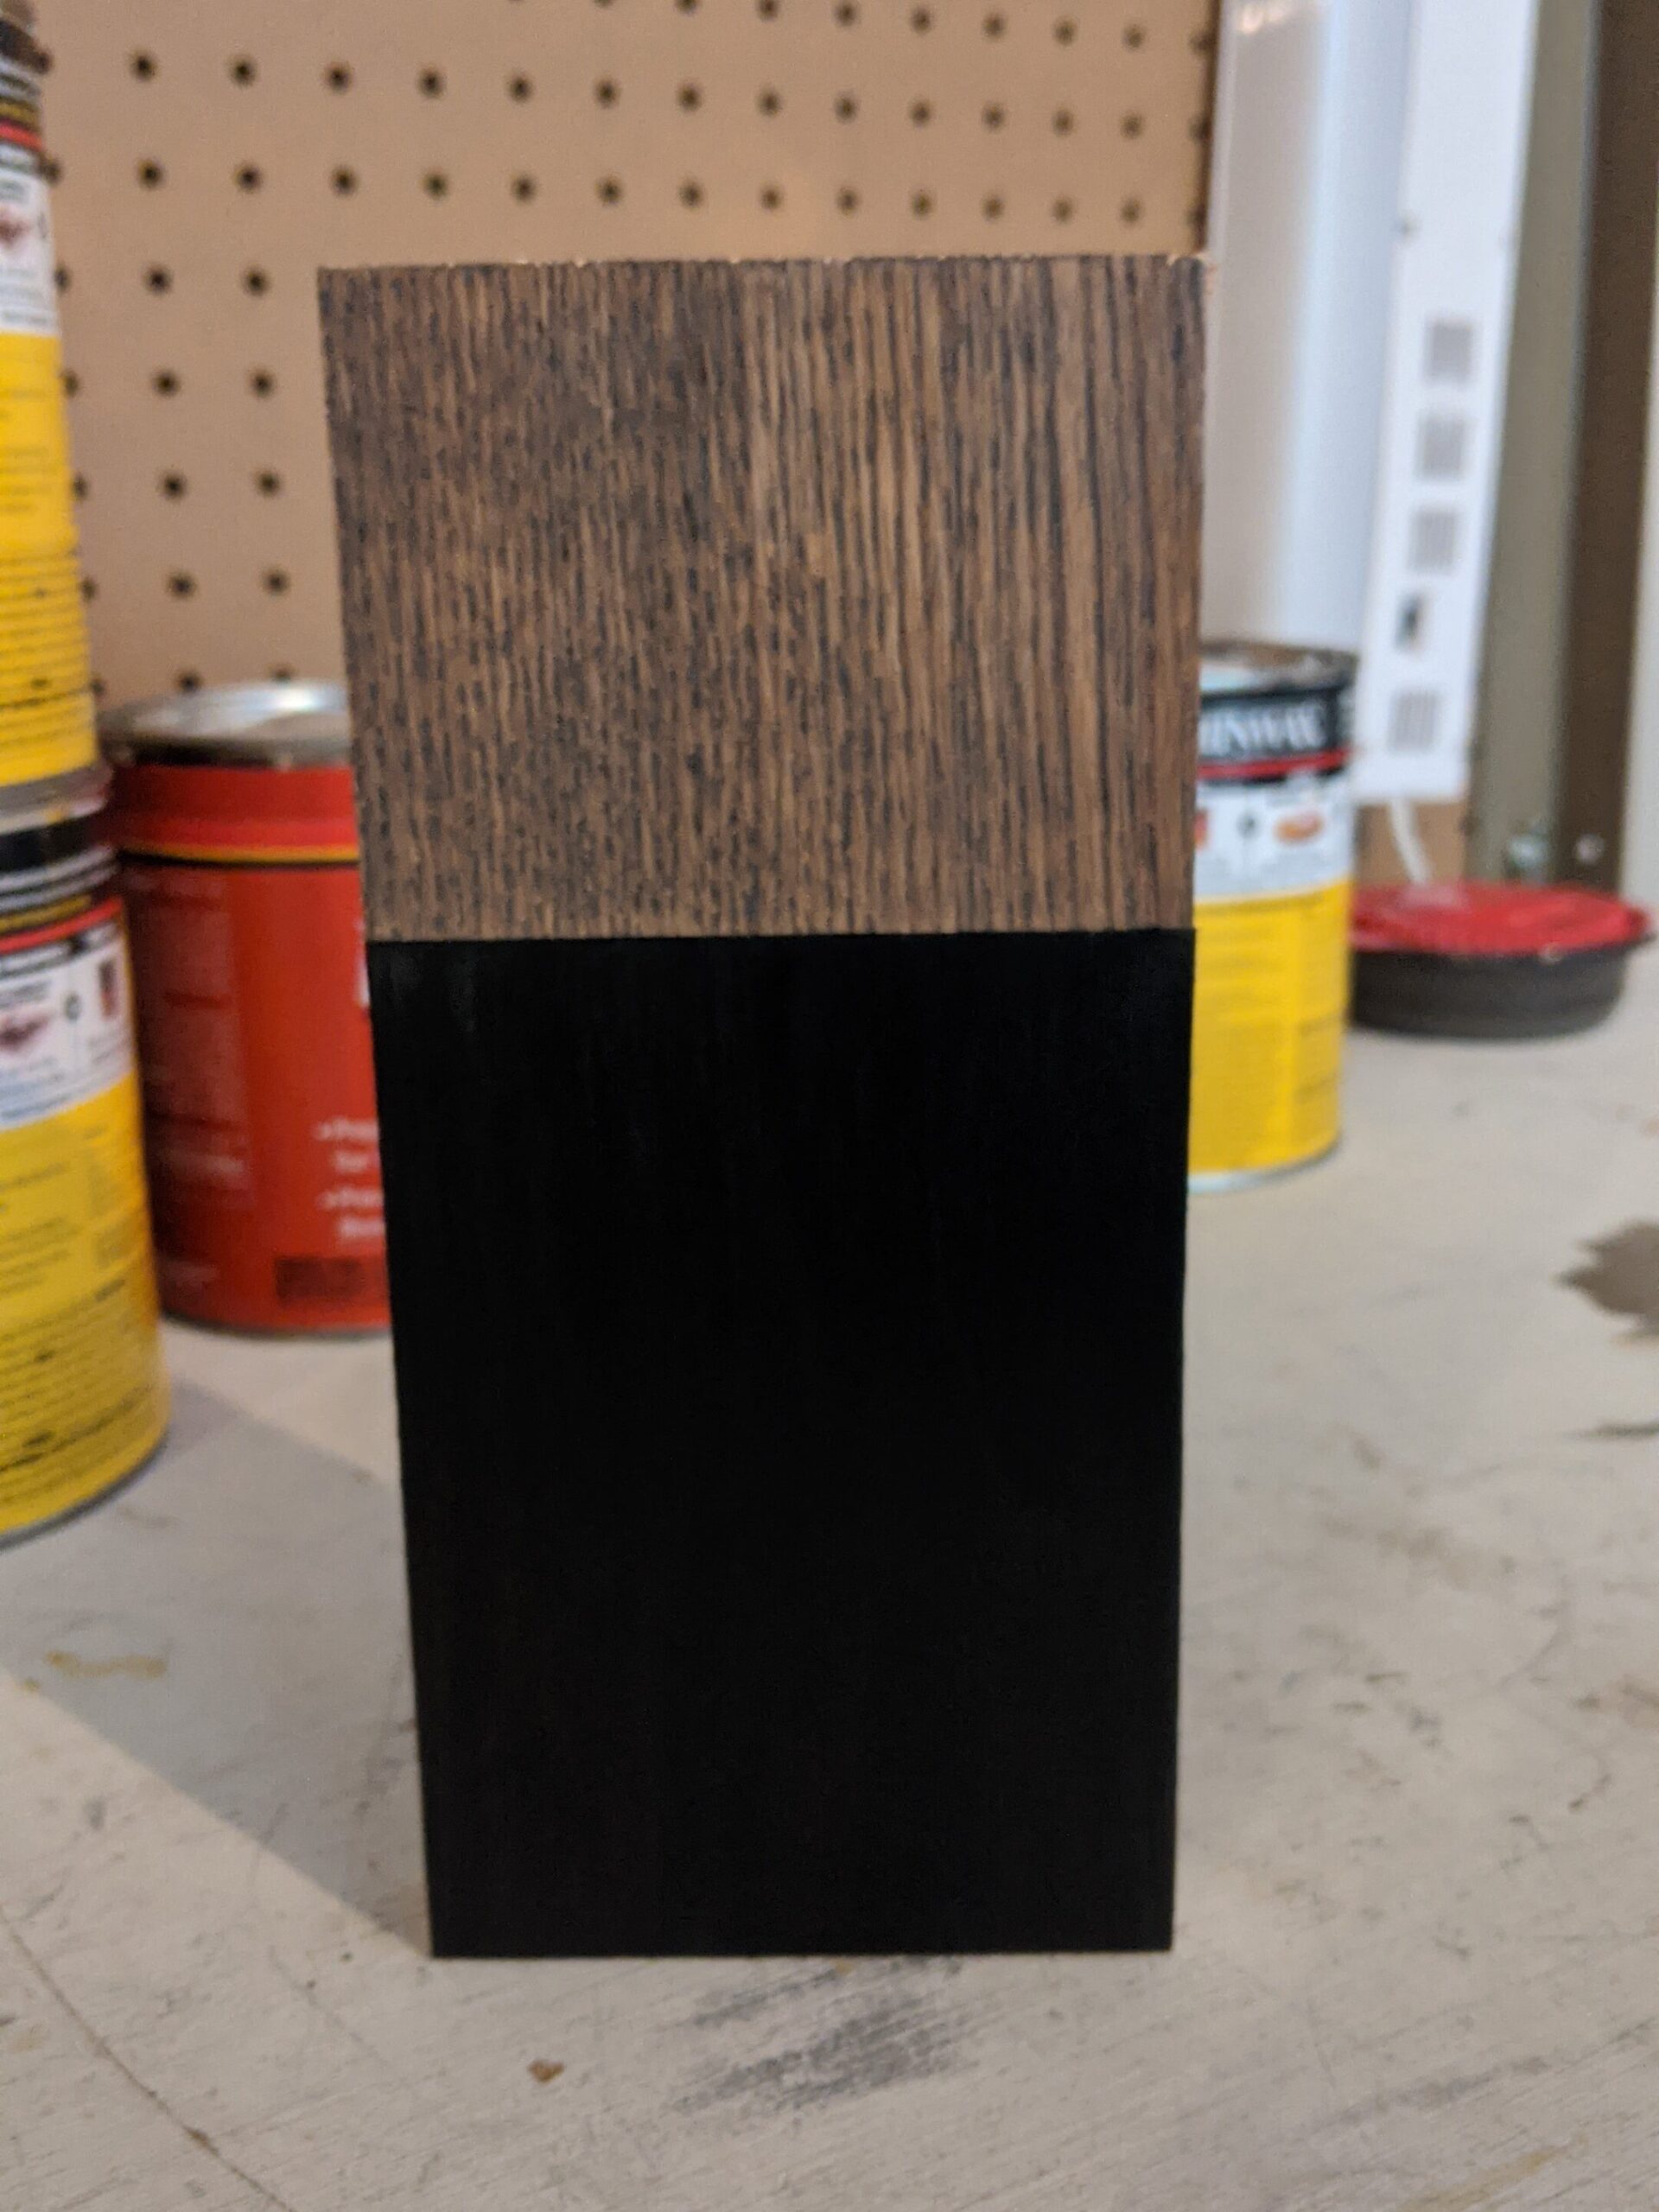
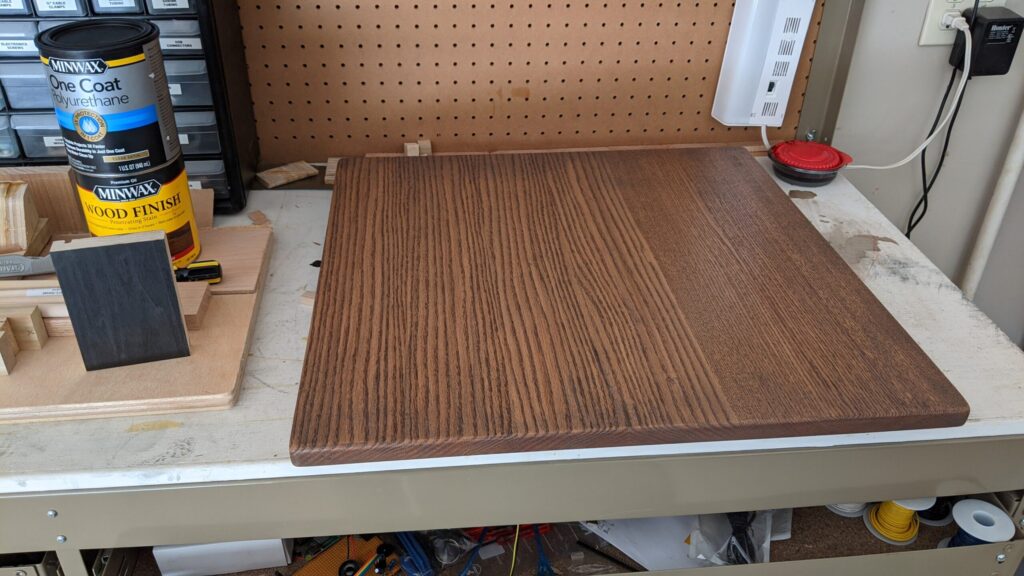
I attempted to make the table top match the “weathered oak” vinyl floor planks we have in our basement, and I was marginally successful (my test piece seemed a lot greyer than the final piece). The base is black to match my arcade cabinet (and partly to hide the poplar).
After wiping everything clean and letting the oil-based stain dry & fully cure for about 5 days, I then applied water-based polyurethane. The reason I chose this instead of easier-to-work-with oil-based poly is that I didn’t want it to yellow with age, given my grey/black color scheme.
For the legs, I thinned the poly to a 1 part water : 1 part polyurethane solution, and then I wiped it on with old T-shirt rags. I put on 4 coats this way, lightly sanding with 220-grit after the second coat (not lightly enough, because in the finished photos, you can see some spots where I sanded some of the color from the corners of the legs — I guess it’s a good thing that “distressed” wood is in style).
For the tabletop, I thinned the poly with 1 part water : 3 parts polyurethane, and brushed it on with a foam brush. I used this (long) video to help me with technique:
Unfortunately, I still got bubbles after the second coat, possibly because I didn’t use a fancy $200 brush. So, I lightly sanded out the bubbles with 220-grit sandpaper, and applied 2 more coats using the wipe-on solution/technique. It wasn’t perfect, but it was definitely better.
Once the polyurethane had dried for a good 24hrs, all that was left was to attach the tabletop to the legs. I did this with a piano hinge. This video, which I used as inspiration, gives a good idea of how that worked (info on the hinge starts around 6:30):
On my table, the legs stick out 1/4″ from the apron between them. This was a perfect distance for everything to have all the necessary clearance using a 1-1/16″ width piano hinge.

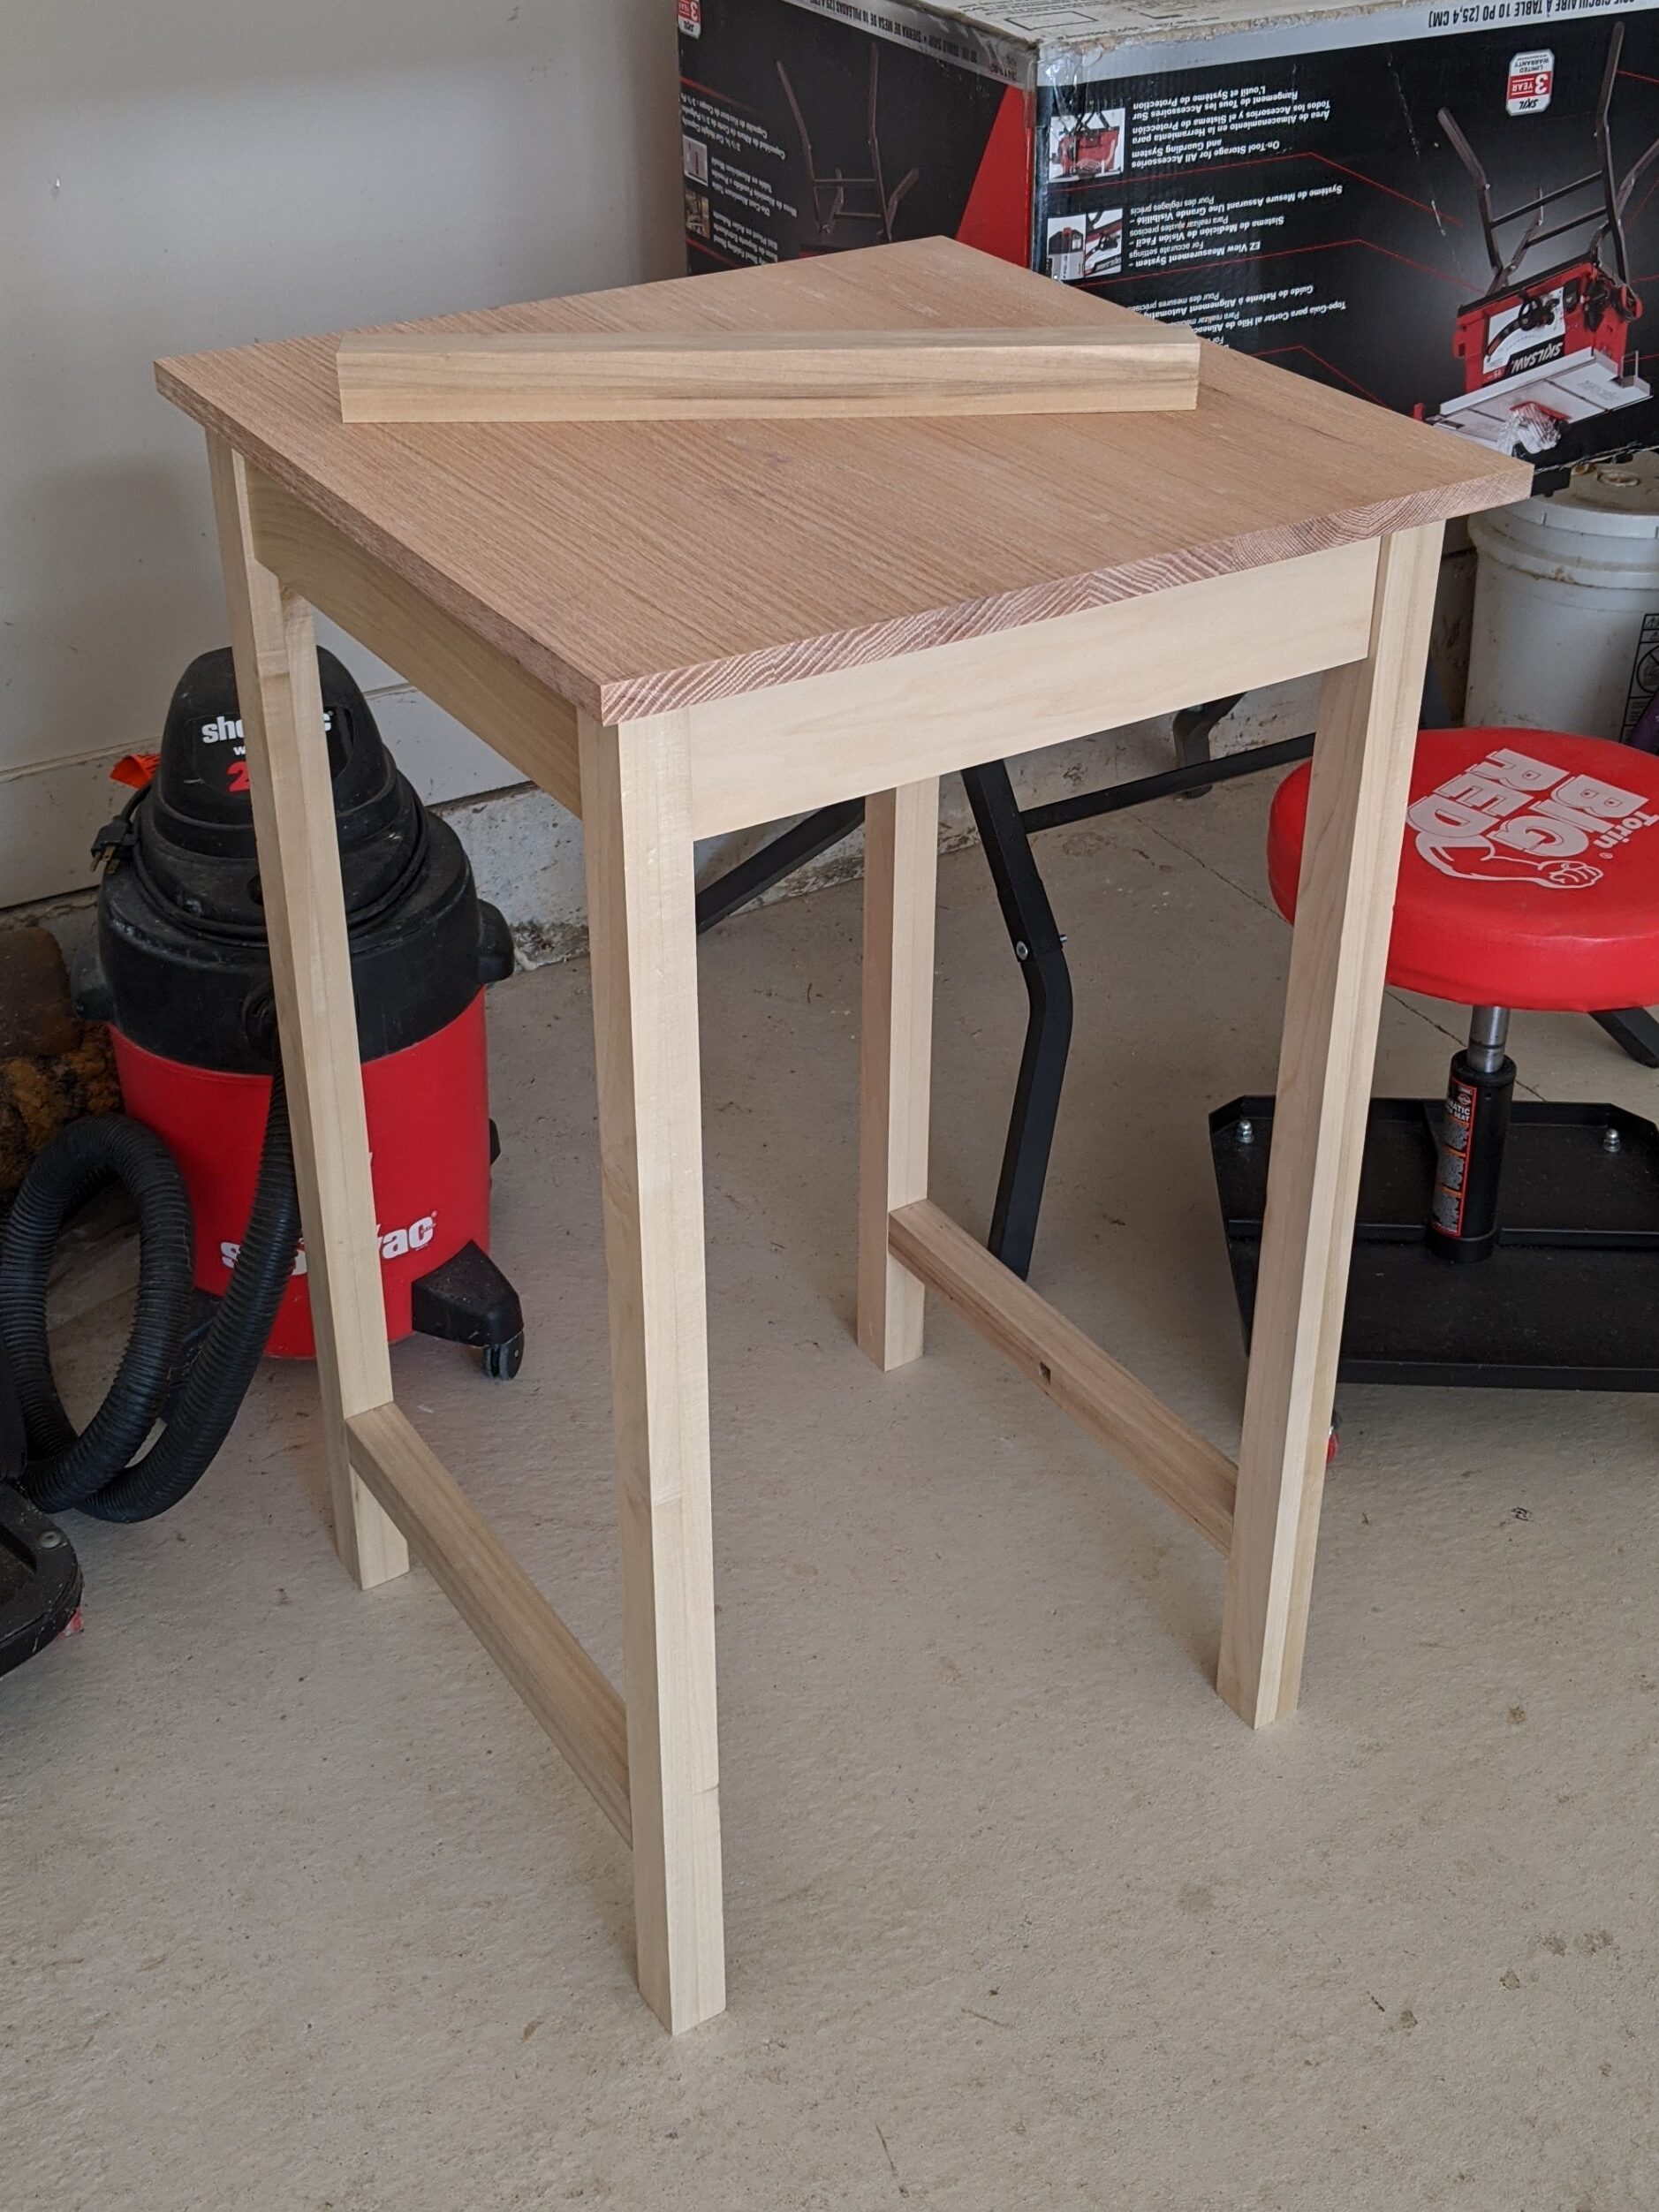
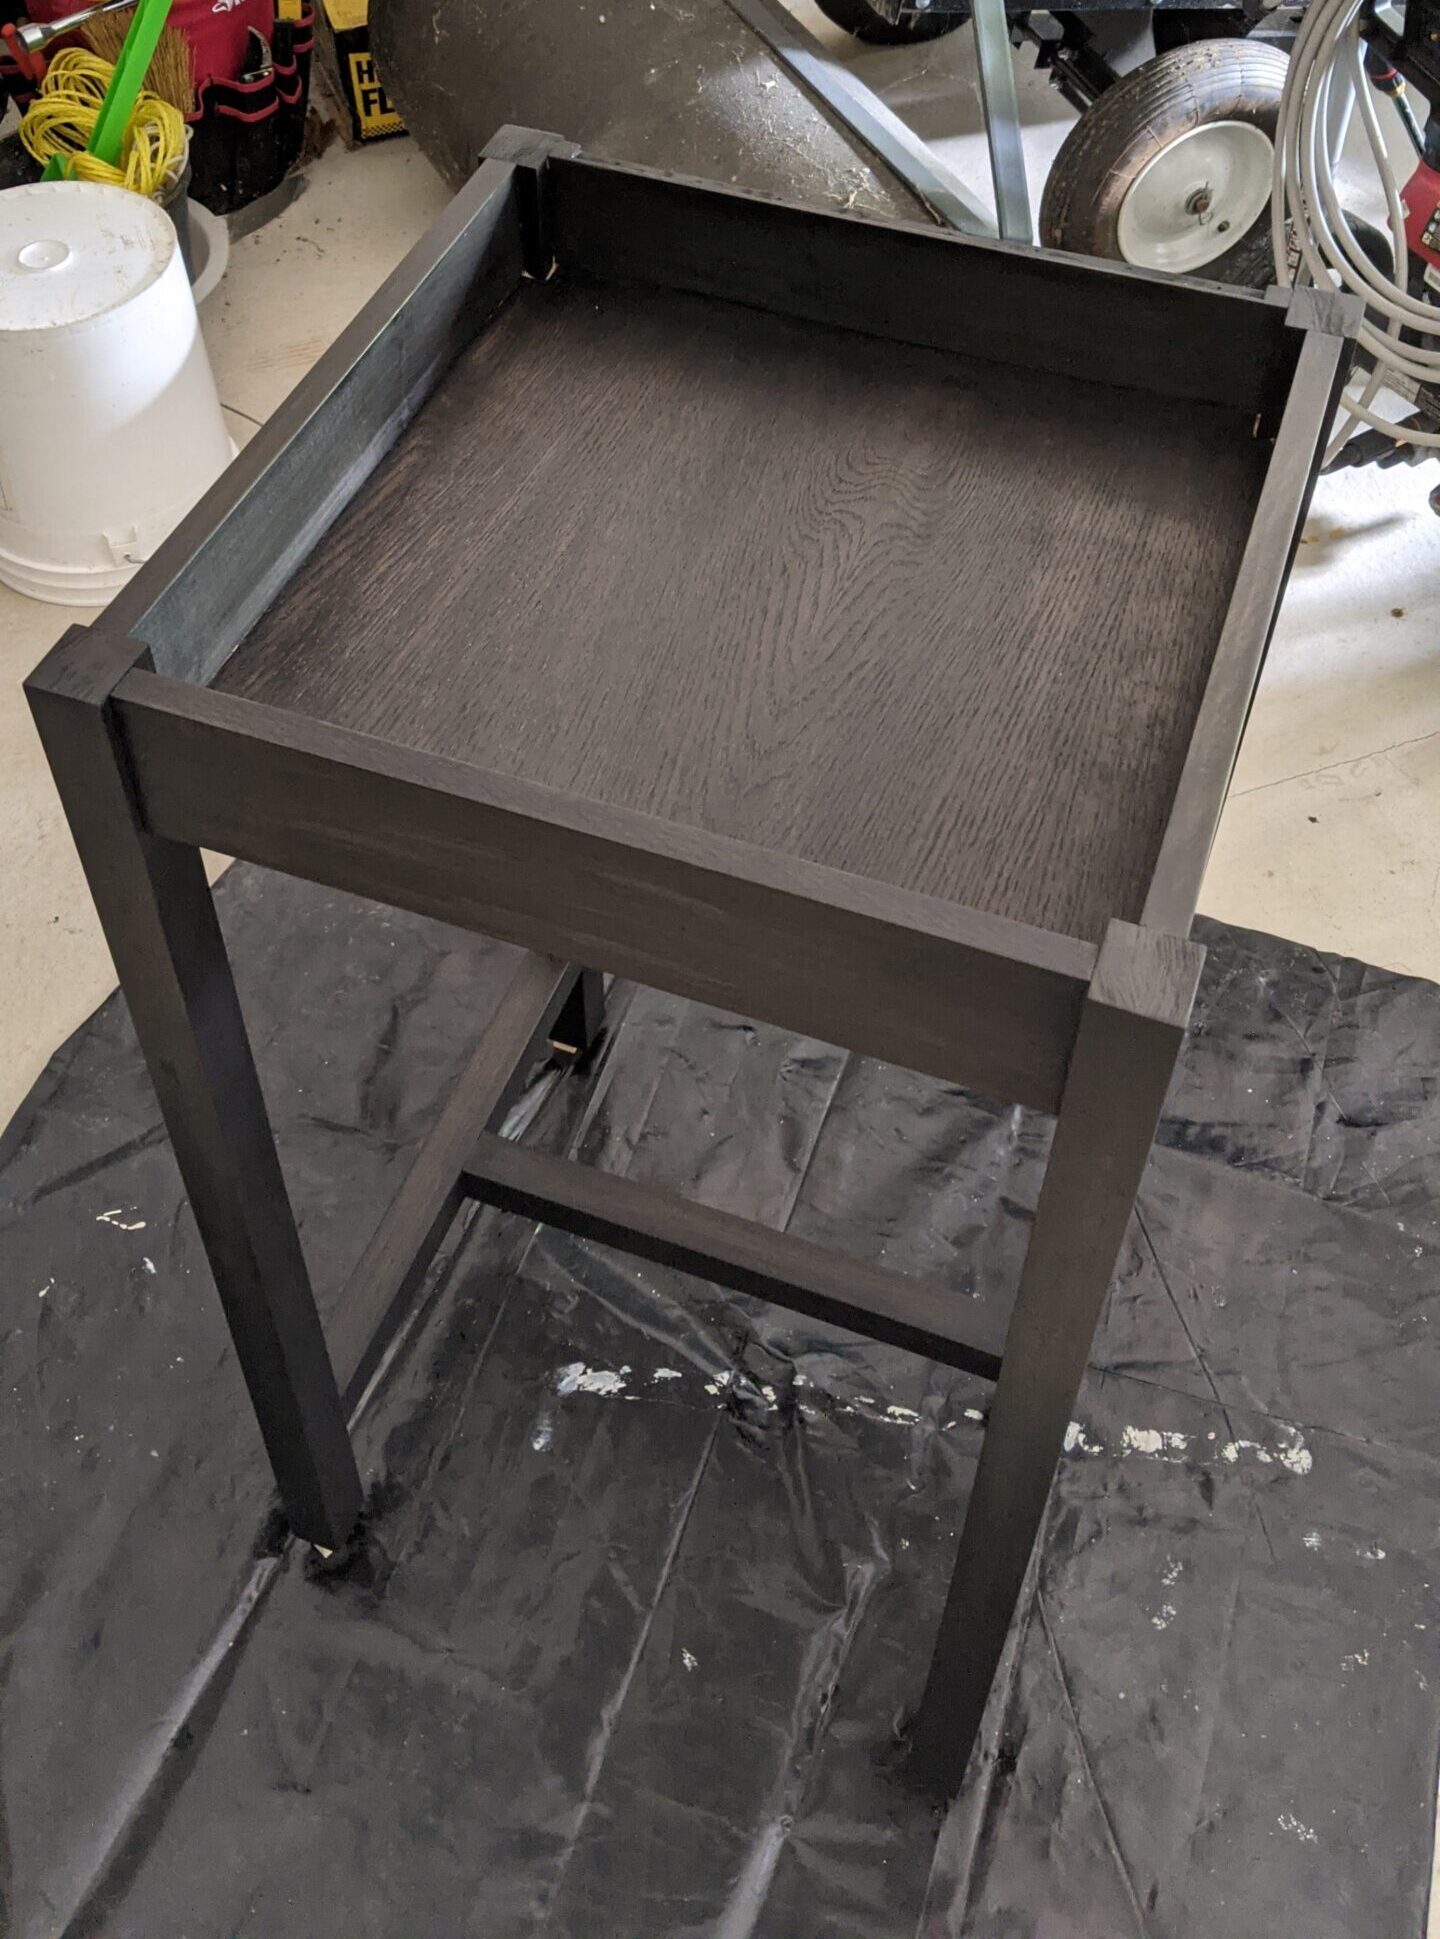
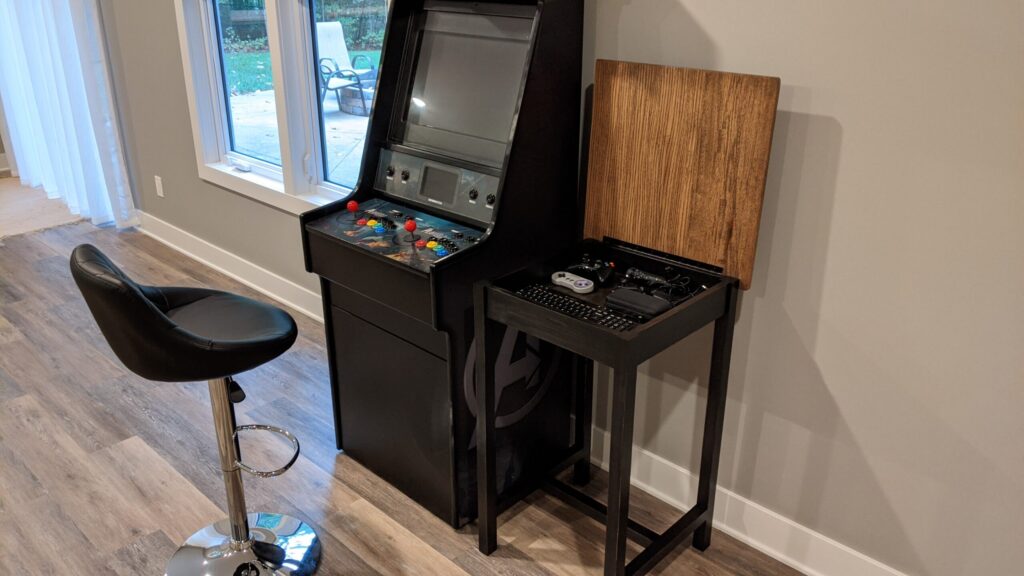
And here’s the final product. Not too bad for my first piece of furniture. Now I’ll just cross my fingers and hope that it doesn’t spontaneously explode due to poor workmanship.

1 thought on “Building a Counter-Height Side Table with Hidden Storage”